
If you’ve been buying the same SVGs over and over, let me be real with you—it’s time to learn how to make your own.
Whether you’re customizing shirts for yourself or building a Cricut-based business, knowing how to design SVGs gives you creative freedom and saves you money in the long run. And no, you don’t need to be a graphic designer to do it.
Want free resources to help you create and grow?
Check out my resource library for instant access to guides, templates, and tools you can start using today.
In this tutorial, I’ll show you exactly how to design a simple—but eye-catching—text-based SVG in Adobe Illustrator, and cut it with your Cricut Joy. You’ll also get the free SVG file so you can follow along even if you’re not ready to design from scratch just yet 🙌🏽
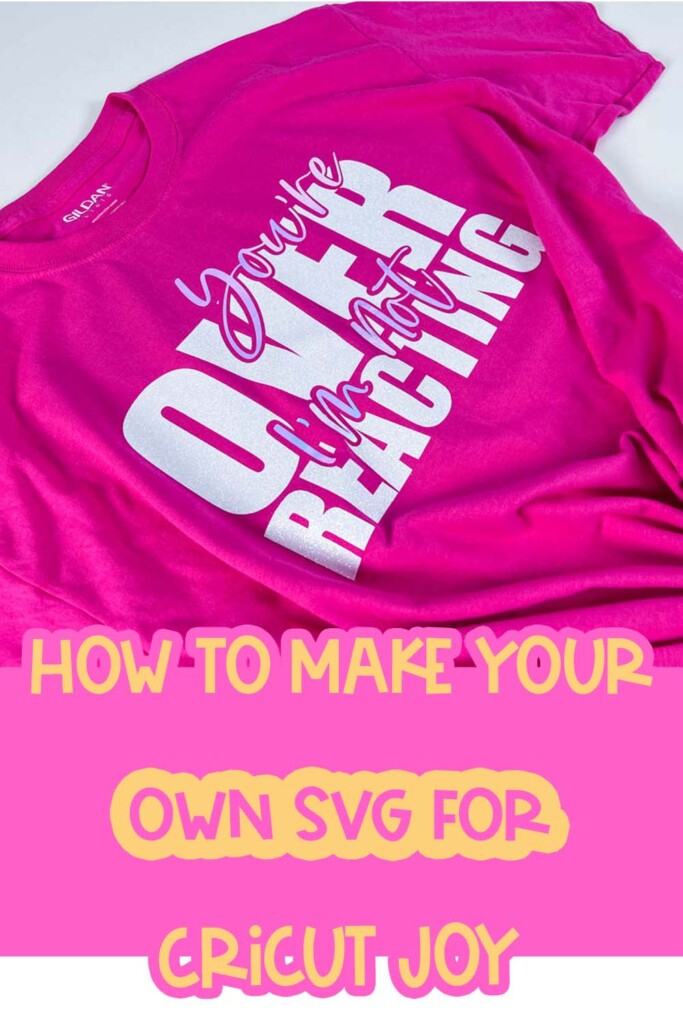
How to Make Your Own SVG for Cricut Joy
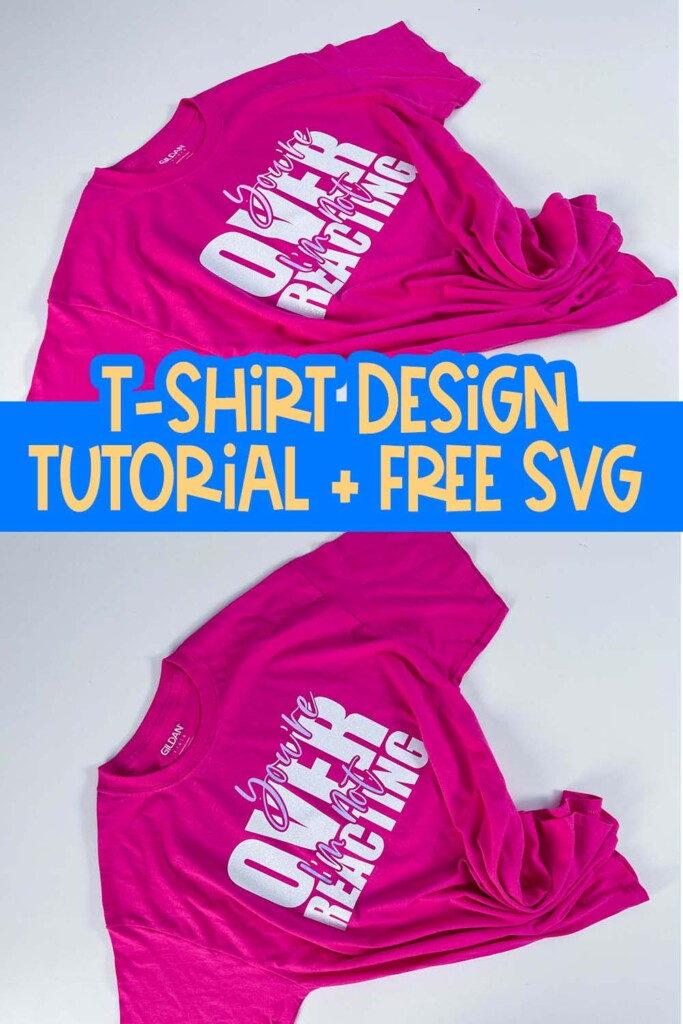
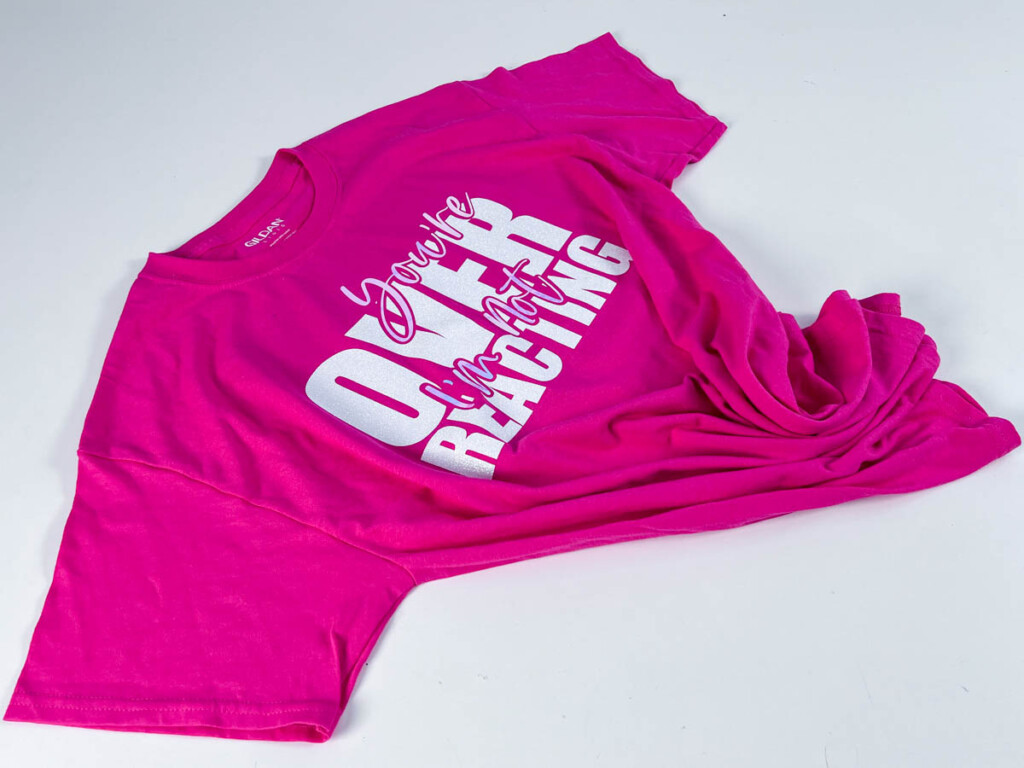
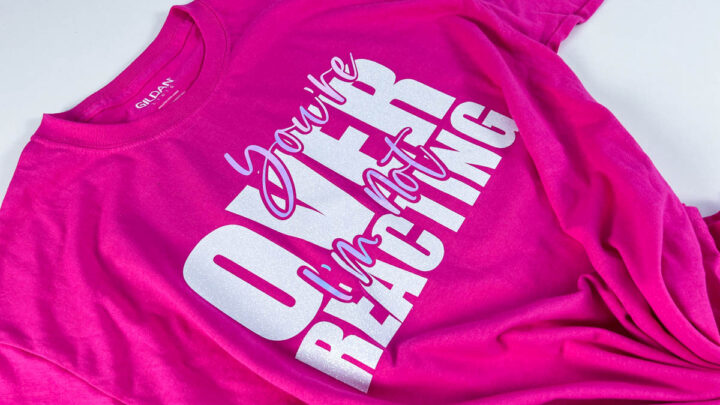
The finished design says:
You’re Overreacting / I’m not
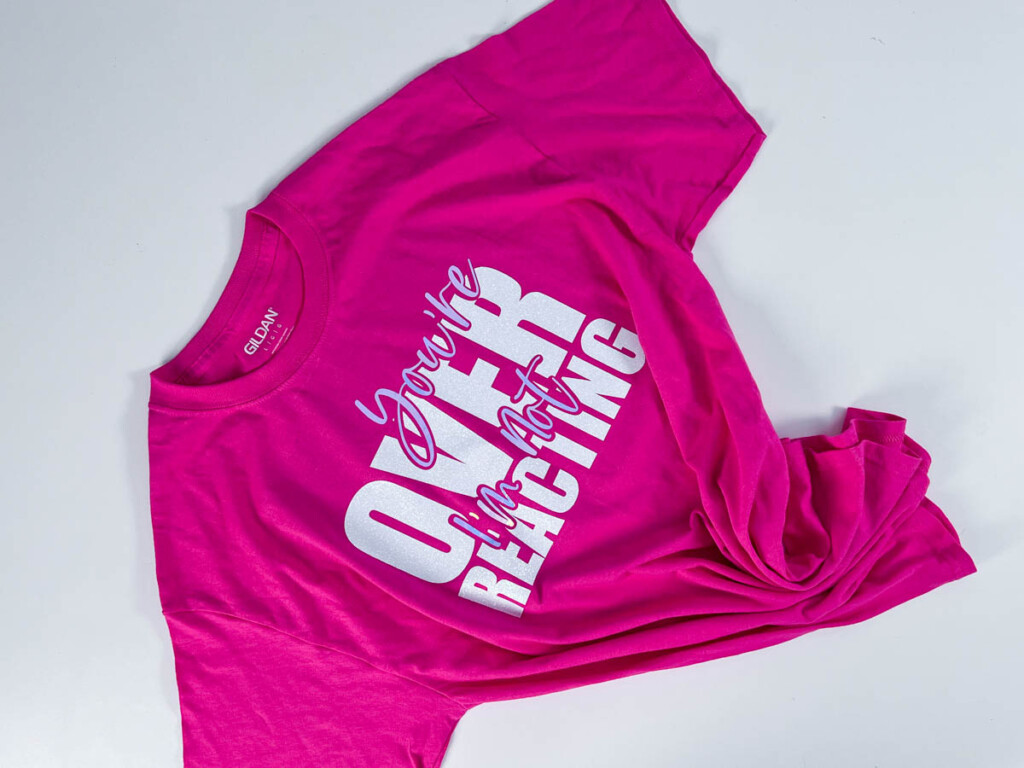
It’s layered, bold, playful, and perfect for pressing onto a bright t-shirt like the one you see here. You’ll also learn how to size, cut, and press the design using HTV (heat transfer vinyl) and your Cricut Joy — even if the design is too big to cut in one piece.

Grab the free SVG!
Go to file #217 in the free resource library.
Where can I send the free files?
This is a great beginner project if you’re ready to stop guessing and start designing with confidence. And if you’re serious about learning SVG design, I’ve got something for you at the end of the post.
More Cricut Projects You’ll Love:
- How to Make a Cricut T-Shirt Design
- 5 Beginner Cricut Projects That Actually Teach You Something
- Cricut Tips for Beginners: What I Wish I Knew Before My First Cut
- How to Use Cricut Mosaic Iron On: Death Star T-Shirt
Let’s make something dope
How to Make Your Own SVG for Cricut Joy (Plus a Free T-Shirt Design!)
Make a bold and playful t-shirt with your Cricut Joy and a custom-designed SVG you’ll create in Adobe Illustrator. This beginner-friendly project teaches you how to design, cut, and press a layered vinyl design that says “You’re Overreacting / I’m not.” The free SVG is included so you can follow along or use it right away!
Materials
- Heat Transfer Vinyl (2 colors)
- Brayer
- Weeding tool
- Self-healing cutting mat
- Rotary blade or scissors
- Teflon sheet
- T-shirt (we used Gildan in bright pink)
Tools
- Cricut Joy (or any Cricut cutting machine)
- Adobe Illustrator (for design work)
- EasyPress or heat press
- EasyPress Mat
Instructions
Step 1: Create Your Design in Illustrator
- Start with a 12x12 artboard.
- Type your text: “You’re,” “Overreacting,” and “I’m not.”
- Choose fonts (Impact for bold text, Barley for script).
- Resize and layout your design.
- Use Object > Expand and the Pathfinder > Unite tool to clean up paths.
- Convert everything to compound paths to prep for offsets.
- Add Offset Paths to create layers for the vinyl.
- Use Minus Front to slice the script from the base text.
Step 2: Prep Your File for Cricut
- Export your design as SVG.
- Upload it into Cricut Design Space.
- Resize the design to fit your shirt (about 10.5” wide total).
- Slice larger pieces to fit on Cricut Joy if needed.
- Mirror each mat before cutting (for HTV).
Step 3: Cut and Weed the Design
- Cut each vinyl color separately.
- Weed the excess vinyl from each layer.
- Preheat your EasyPress to 330°F for 20 seconds.
Step 4: Align and Press the Design
- Fold your shirt in half vertically and press to create a center line.
- Align the design starting with “Over” and “Reacting.”
- Add “You’re” and “I’m not” above and in between the base text.
- Use a Teflon sheet and press each section for 20 seconds with medium pressure.
- Let the vinyl cool before peeling (especially holographic or glitter vinyls).
Step 5: Finish and Flex!
- Double check your alignment.
- Press any remaining layers.
- Rock your new shirt proudly ✨


