
Creating a Cricut t-shirt design is a fun and rewarding project for Cricut enthusiasts of all levels. Whether you’re making something for yourself, a gift, or a small business venture, Cricut Design Space offers a user-friendly platform to design and customize your ideas.
In this post, I’ll walk you through the process of designing a Cricut t-shirt using Cricut Design Space, cutting it with the Cricut Maker 3, and pressing it with the HTV RONT Autopress to create a beautiful and professional-looking shirt.
Why Use Cricut Design Space for Cricut T-Shirt Design?
Cricut Design Space is a versatile tool for creating professional-quality designs for any Cricut t-shirt project. It allows you to customize text, use a wide variety of fonts, and apply effects like offsets to make your designs pop. Plus, its compatibility with Cricut cutting machines ensures precision and ease when bringing your ideas to life.
Step 1: Setting Up Your Design
Open Cricut Design Space and start with a blank canvas. If the grid lines feel too distracting, you can turn them off by navigating to Settings → Canvas and selecting “No Grid.”
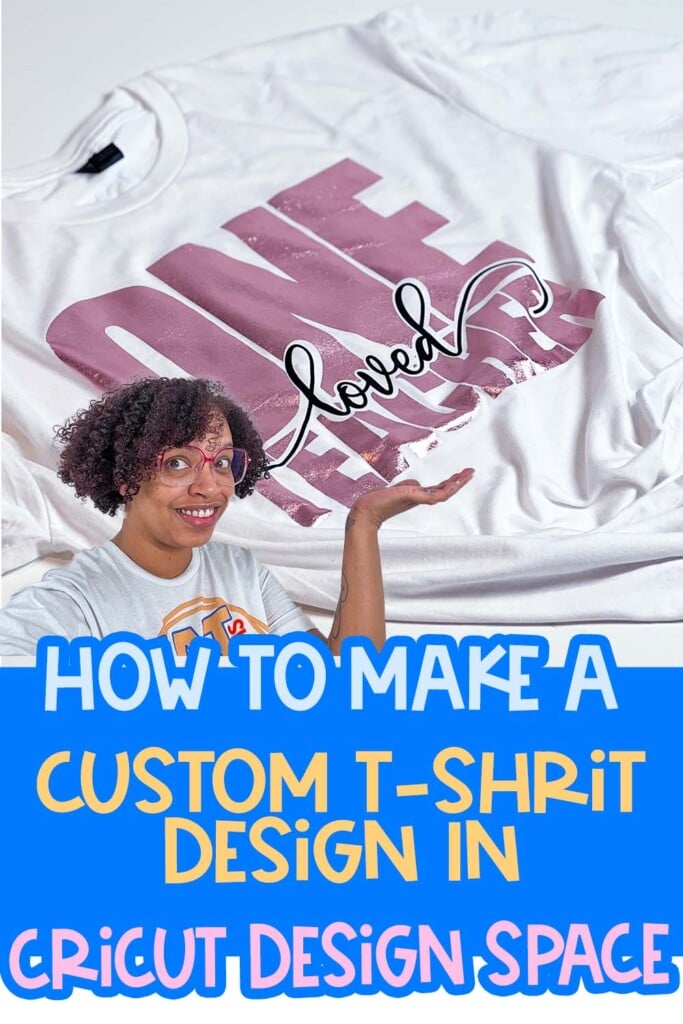
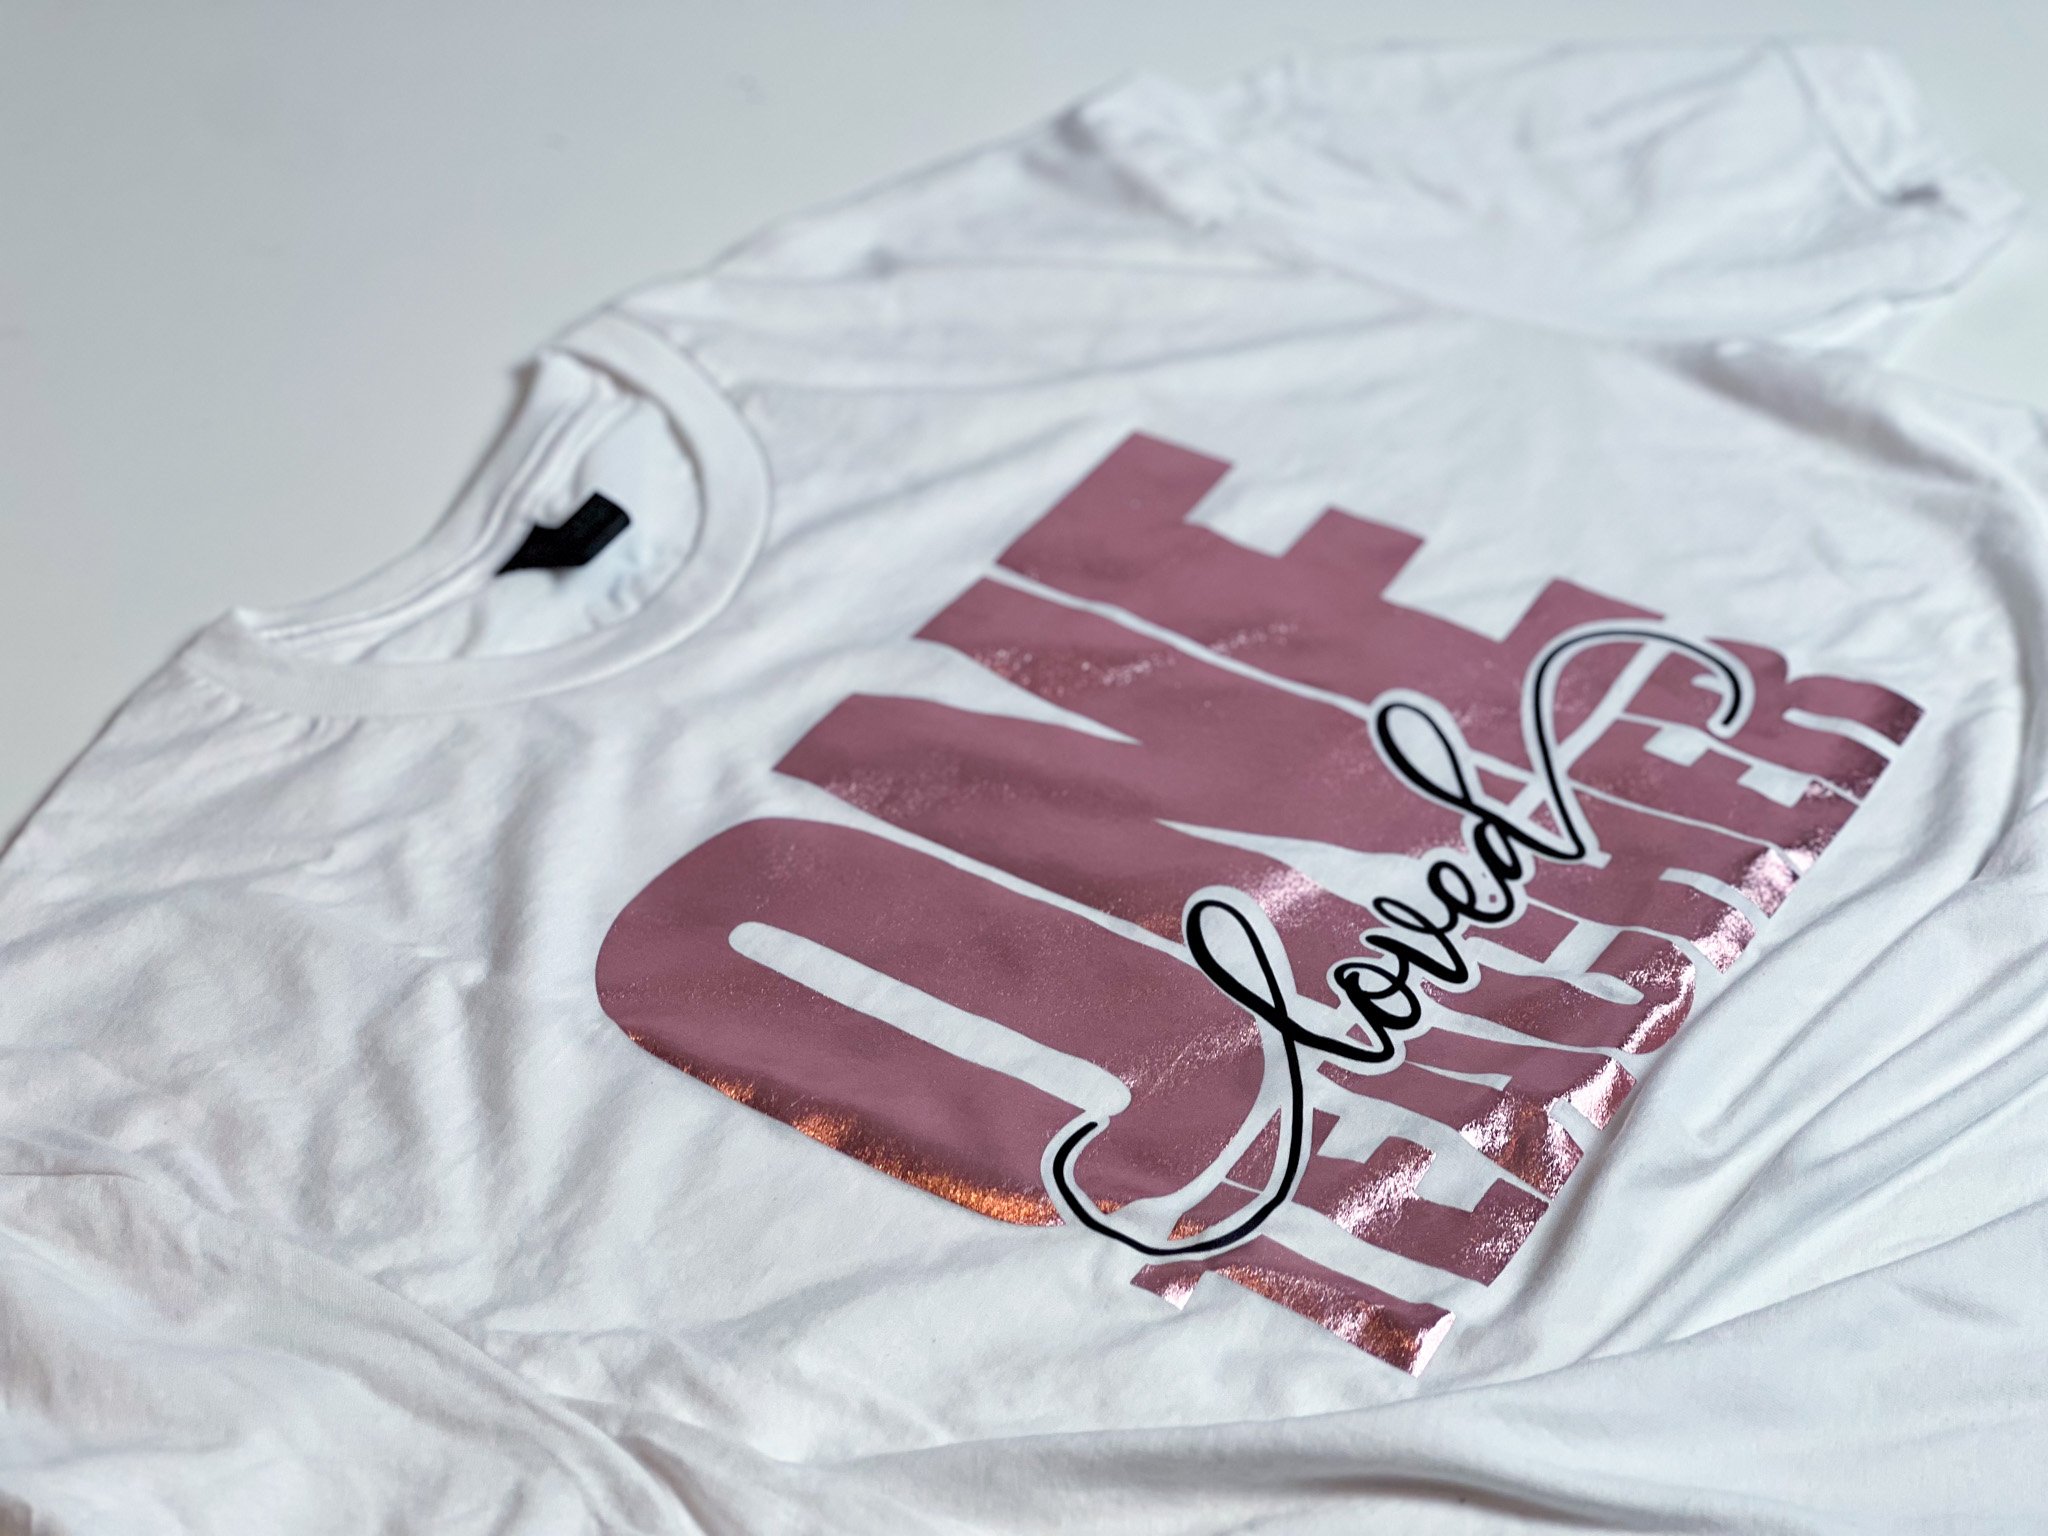
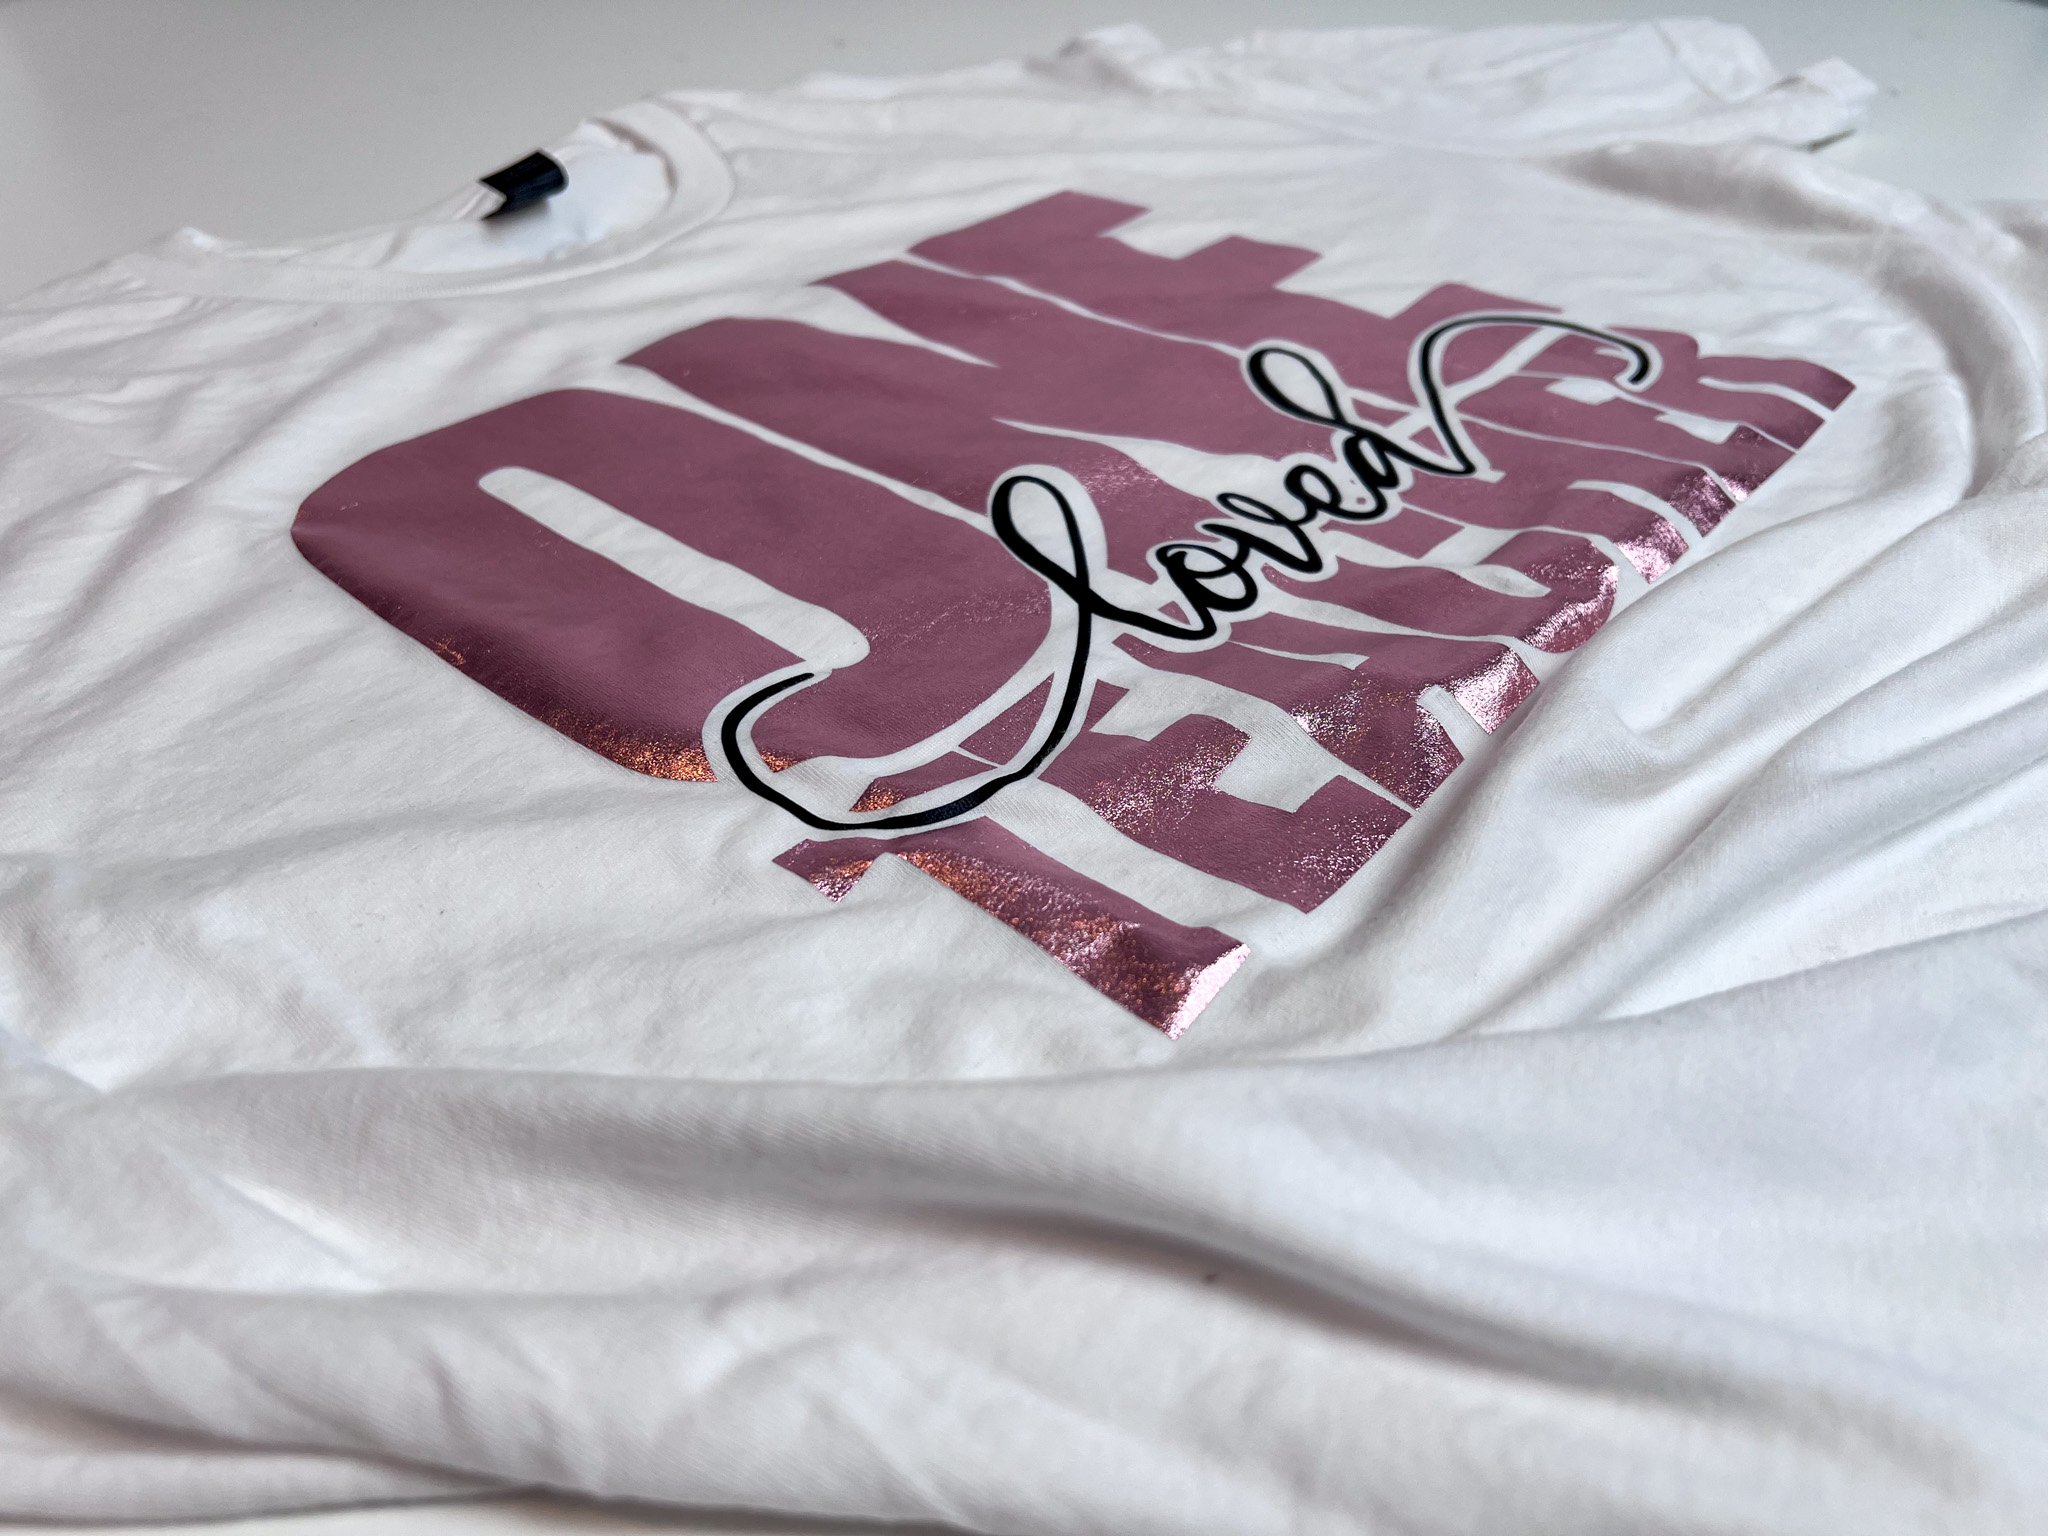
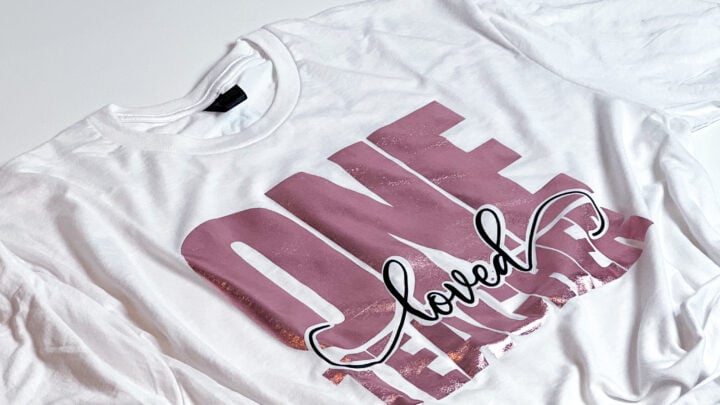
Begin your by typing out the text for your Cricut t-shirt project. For this project, I created a three-line text design: “One Loved Teacher.” Use these steps to get started:
- Type Out Your Text: Type each word separately to allow more control over positioning.
- Choose Your Fonts: Select fonts from your system or the free options available in Cricut Design Space. For this design:
- “One” uses a bold font like Impact.
- “Loved” uses a script font with glyphs for added style. I used Fabulous; you can find it on FontBundles.
- “Teacher” also uses Impact to complement “One.”
- Adjust Font Spacing: Modify letter spacing or ungroup the letters to adjust individual placement manually for a polished look.
- Align Your Text: Use the Align tool to ensure everything is centered horizontally and vertically.

Step 2: Adding Creative Touches
To make the design stand out, add an offset around your script text. The offset creates a border that enhances visibility and gives the design a layered appearance.
- Select the text for “Loved” and click on the Offset option.
- Adjust the size of the offset to your preference and click Apply.
- Use the Contour tool to remove any small holes or gaps in the offset layer.
Once your design is complete, combine or unite the layers to finalize it. This ensures that the text and offset appear as one seamless design.
Step 3: Preparing for Cutting
Once your design is ready, set your machine to the Cricut Maker 3 (or your specific Cricut model). Ensure the design is mirrored because you’ll be using heat transfer vinyl (HTV), which requires cutting on the reverse side. This is crucial when creating your Cricut t-shirt design.
- Size your design to fit the t-shirt. For this project, I made the design 10.5 inches wide.
- Separate your design by color into different mats.
- Choose your materials in Design Space (e.g., WallaCut Express Black for one layer, Deco Film Soft Metallic for the other).
Step 4: Cutting Your Design
Cut your vinyl to size using a ruler and rotary cutter. Place the vinyl on the cutting mat with the shiny side down (matte side up for HTV). Use a brayer to ensure the vinyl adheres well to the mat.
- Load the mat into the Cricut Maker 3.
- Select the appropriate material settings in Design Space.
- Press “Go” to start cutting.
After cutting, weed out the excess vinyl, leaving only your design on the carrier sheet.
Step 5: Pressing Your Design
To apply the design to your t-shirt, use the HTV RONT Autopress or a similar heat press.
- Preheat the shirt for a few seconds to remove moisture and wrinkles.
- Fold the shirt in half and press it lightly to create a centerline for alignment.
- Align the design on the shirt, ensuring it’s centered and 3–4 finger widths below the neckline.
- Press each layer of the design according to the vinyl’s heat and time settings. If layering, press the first layer for a shorter time, then add the next layer and press for the full duration.
Allow the design to cool before peeling the carrier sheet. For cold-peel vinyl, you can speed up the cooling process by rubbing a cool ceramic or glass surface over the design.
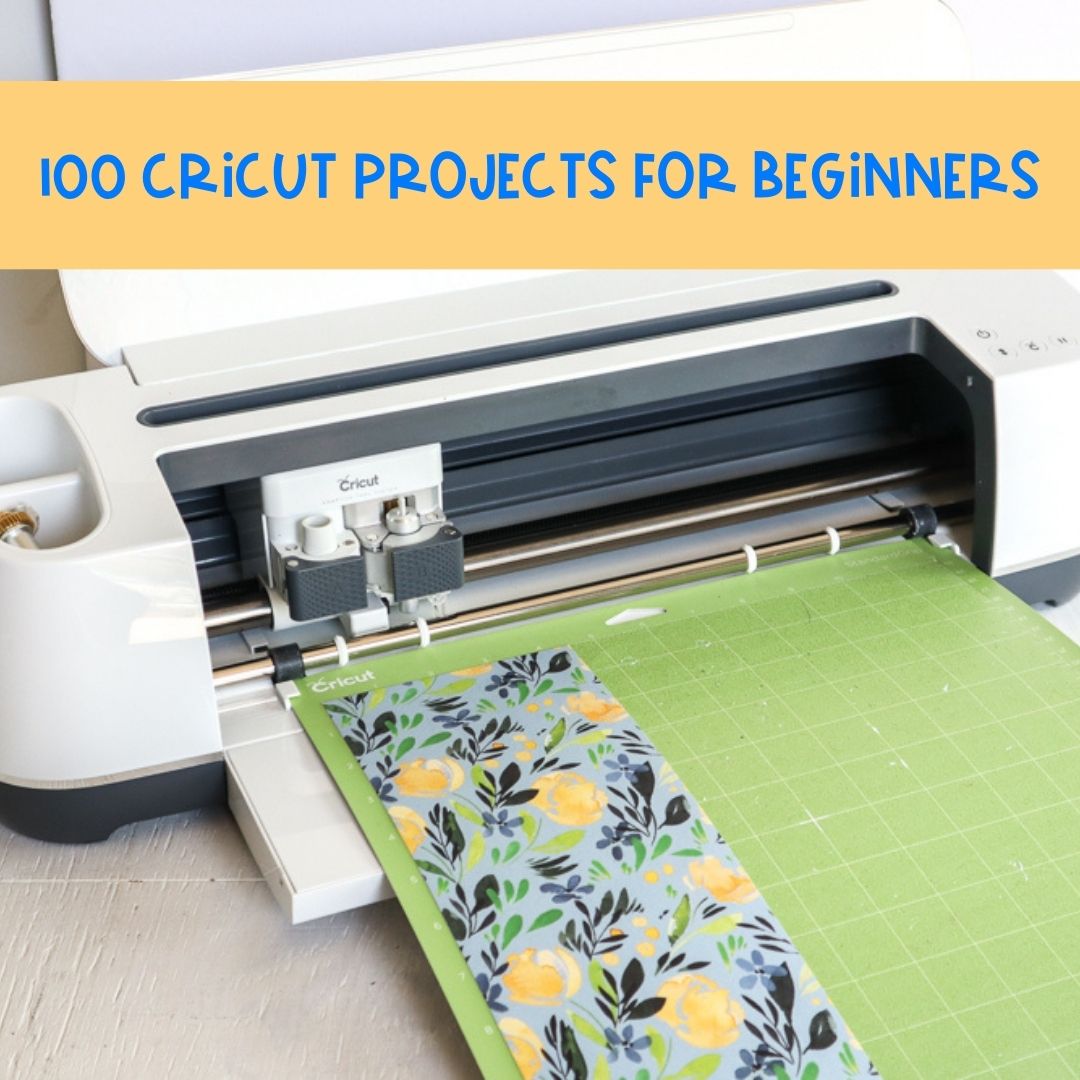
If you’re new to Cricut, check out my these 100 Cricut Projects For Beginners to help you get started with your first projects.
You can also check out this helpful guide on Cricut Projects for Beginners from Cori over Hey, Let’s Make Stuff for easy and fun ideas to build your confidence.
DIY T-Shirt Design in Cricut Design Space | Printable Instructions
Learn how to make a custom t-shirt using Cricut Design Space in just a few easy steps! This guide walks you through designing, cutting, and layering vinyl, plus tips for pressing your design with the HTV RONT Autopress. Perfect for beginners looking to create their first DIY shirt or anyone wanting to improve their Cricut skills.
Materials
Instructions
- Open Cricut Design Space and start with a blank canvas. If you prefer a cleaner workspace, turn off the grid by going to Settings → Canvas Grid → No Grid or Partial Grid.
- Use the text tool to add the words for your design. Add each word (“One,” “Loved,” and “Teacher”) as separate text layers to give yourself more flexibility with arranging and styling.
- Choose fonts for each word. For this project, use a bold font like Impact for “One” and “Teacher” and a script font like Fabulous for “Loved.”
- Adjust the spacing between the letters for a polished look. You can use the letter-spacing tool or ungroup the letters and adjust manually. Once adjusted, align everything evenly using the Align tool.
- Weld your 2 thicker texts together.
- Resize your text to the desired dimensions. For this project, set the width to 10.5 inches across.
- Add an offset to the word “Loved”. Click on the Offset tool, set the size (e.g., 0.1 or 0.2 inches), and smooth any gaps with the Contour tool.
- Select your offset and thick text and click slice, you can then delete the offset and the area sliced from your design.
- Preheat your press to 320.
- Select the Cricut Maker 3 as your machine. Ensure your design is mirrored since you’re working with heat transfer vinyl.
- Separate your design by color into different layers. In Cricut Design Space, this will place each color on its own cutting mat.
- Select the correct material for each layer. For example, use WallaCut Express Black Vinyl for the base text and Deco Film Soft Metallic for the script text.
- Cut your vinyl to size using a ruler and rotary cutter. Place the vinyl shiny side down on the Cricut cutting mat and use a brayer to secure it in place.
- Load the mat into the Cricut Maker 3 and start cutting. Once the cutting is complete, use a weeding tool to remove the excess vinyl, leaving only the design on the carrier sheet.
- Preheat your t-shirt for a few seconds with your HTV RONT Autopress or heat press to remove moisture and wrinkles.
- Fold the t-shirt in half vertically and press lightly to create a centerline. Do the same with your design by folding the carrier sheet in half to mark the center. Align the design’s center with the t-shirt’s centerline.
- Press the first vinyl layer at 320°F for about 10 seconds (or follow your vinyl’s specific instructions). Remove the carrier sheet while warm or cold as required.
- Place the second vinyl layer on the shirt, aligning it with the first layer. Press again at 320°F for 20 seconds, using a Teflon sheet. Remove the carrier sheet when cooled.
- Inspect the design to ensure everything is adhered to properly. If needed, press again for 5–10 seconds.
- Let the shirt cool completely before wearing or handling it. Your custom t-shirt is now ready!


