
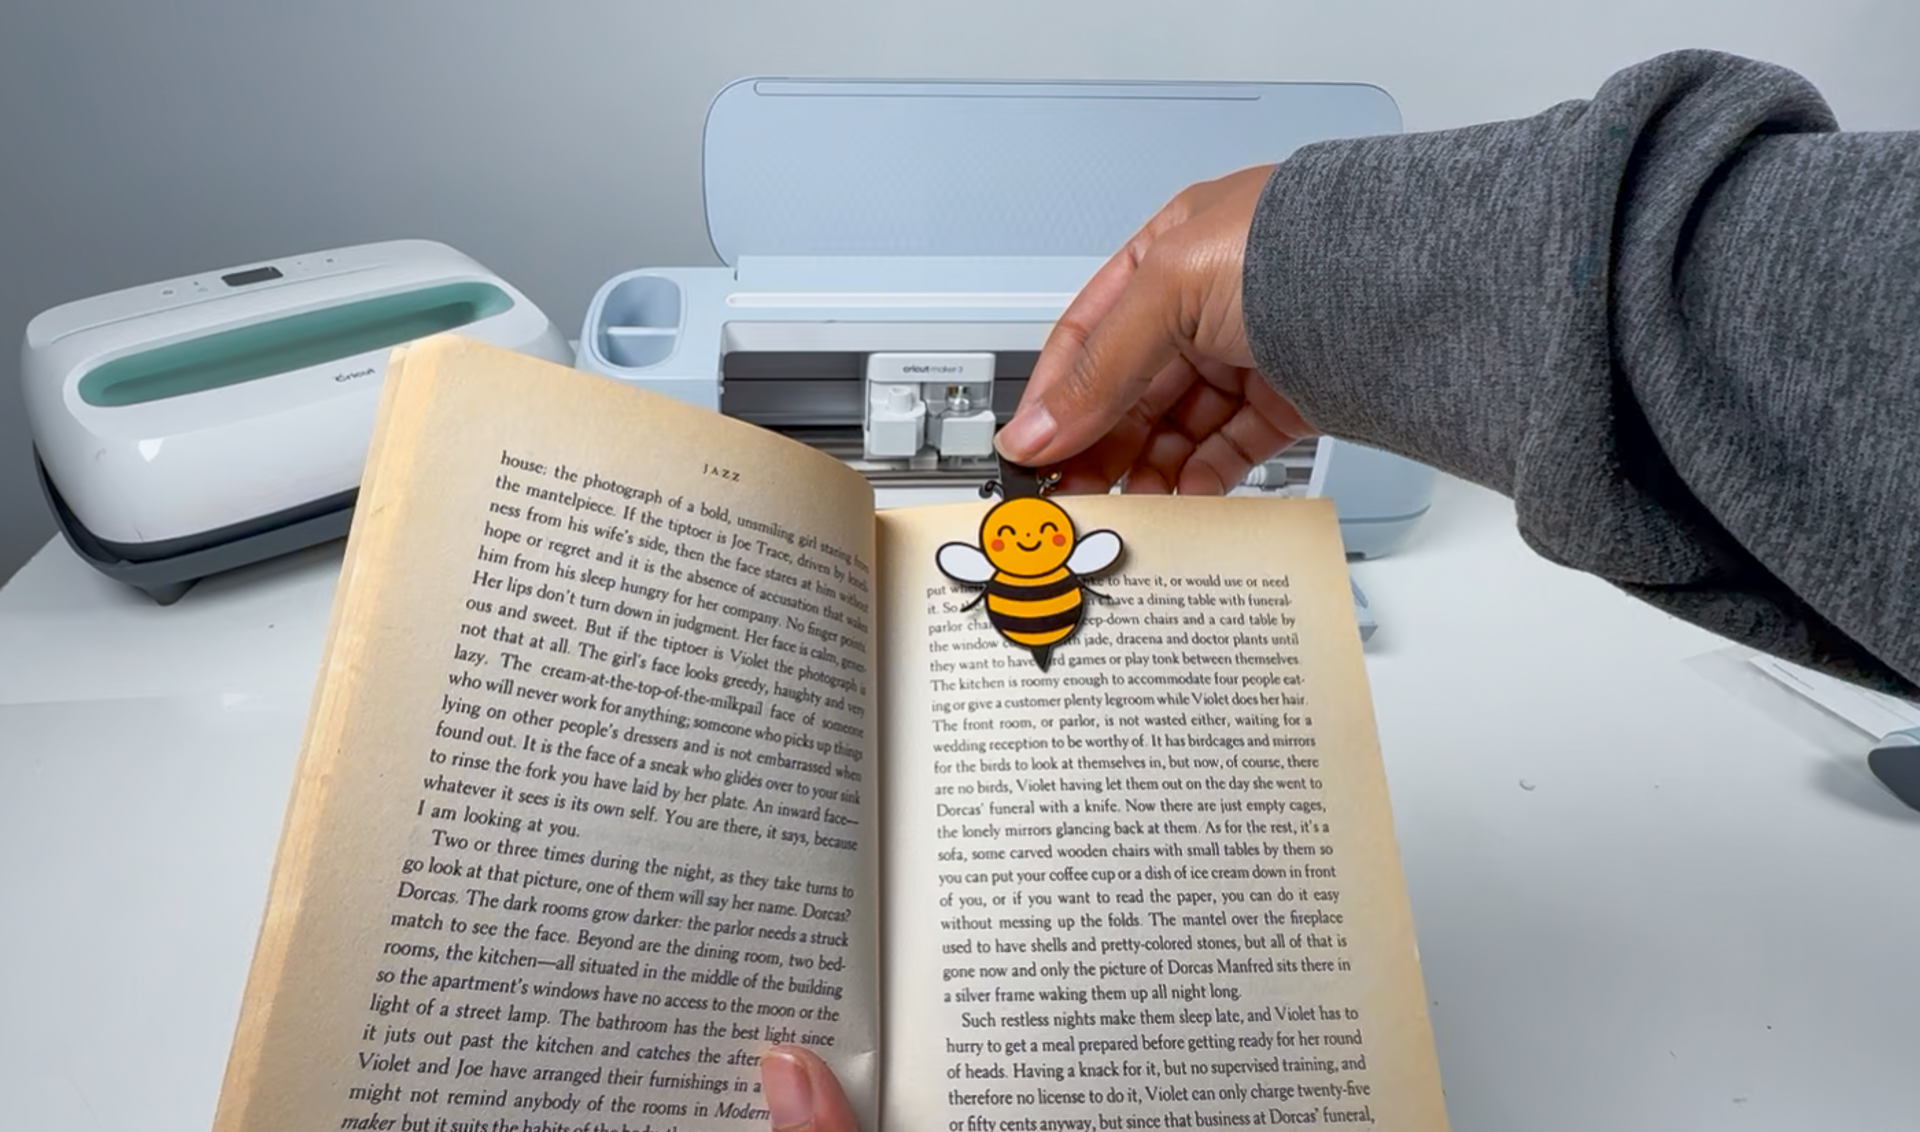
These bumblebee magnetic bookmarks are simple, clever, and one of those projects that makes people say, “wait… how did you make that?” They open up, fold over a page, and stick to themselves using magnets, which makes them perfect for planners, books, or gifts.
In this class, you’ll take a provided SVG and turn it into a functional magnetic bookmark using Cricut’s Print Then Cut feature.
Step 1: Shop the Supplies
Materials
- Printable magnetic sheets
- Inkjet vinyl sticker paper (Koala brand used in this project)
Tools
- Cricut cutting machine
- Inkjet printer
- Green StandardGrip mat
- Fine-point blade
- Scoring wheel or scoring stylus
- Brayer
You can shop all of the Day 8 supplies in 1 place here.
Step 2: Download the Files
This project uses a bumblebee SVG provided for the class. Download the file from the link in the description, then upload it into Cricut Design Space.
Step 3: Watch the Video Tutorial
In the video, you’ll learn how to: – Turn a flat SVG into a foldable magnetic bookmark – Prepare a design for Print Then Cut – Print and cut on magnetic material – Add score lines so the bookmark folds cleanly
Design Space Skills You’ll Learn in This Project
This class focuses on Print Then Cut and basic design manipulation inside Cricut Design Space.
You’ll learn how to:
- Upload an SVG and add it to a new canvas
- Ungroup and regroup design elements
- Duplicate a design and flip it vertically to create a mirrored layout
- Use basic shapes to create a hinge area
- Align designs visually using the grid when alignment tools don’t cooperate
- Turn on the canvas grid for manual alignment
- Flatten layers for Print Then Cut
- Add Score Lines and position them precisely
- Use Attach to keep score lines aligned with Print Then Cut designs
- Fill the page efficiently for Print Then Cut
- Use system dialog settings for better print quality
- Choose the correct Printable Magnetic Sheet material setting
These skills apply to magnets, stickers, labels, bookmarks, and other Print Then Cut projects.
Step 4: Print, Cut, and Assemble
Once your design is ready:
- Click Make It and allow Design Space to fill the page
- Keep bleed turned on for cleaner edges
- Send the design to your printer using system dialog settings
- Place the printed magnetic sheet on a green StandardGrip mat
- Use a brayer to secure it firmly
- Select Printable Magnetic Sheet as your material
- Insert scoring tool and fine-point blade when prompted
- Cover the sensor light if needed so registration marks scan correctly
After cutting:
- Check the cut before unloading the mat
- Remove the mat from the material to prevent curling
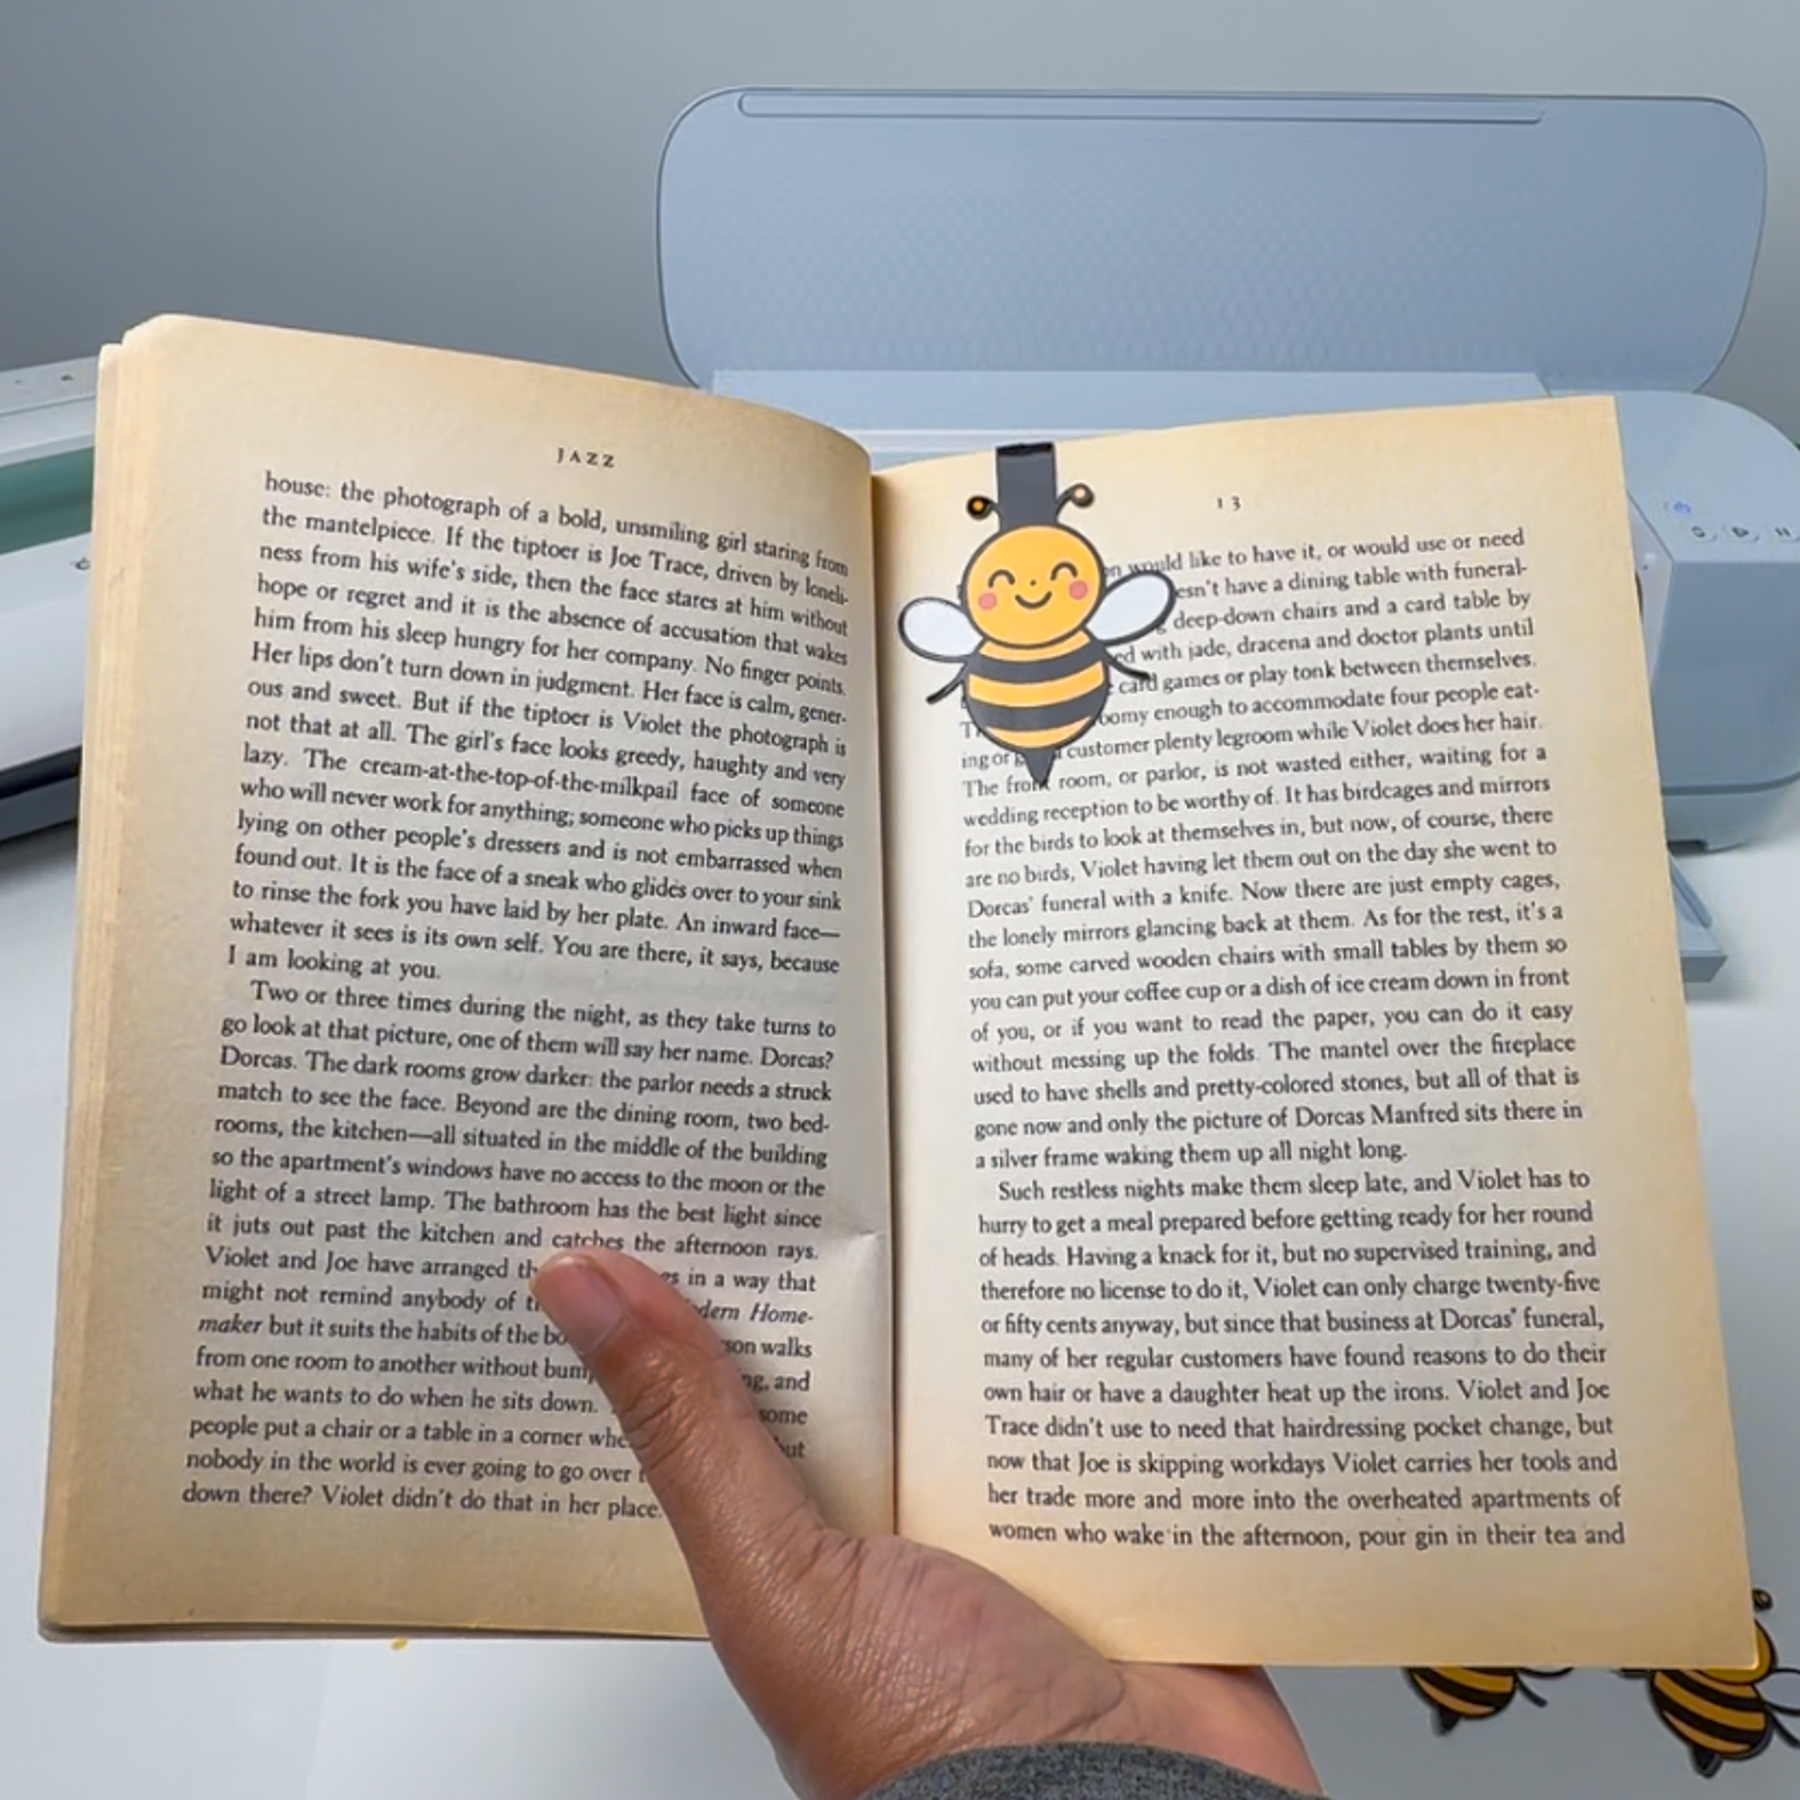
- Fold along the score line
- Pinch gently so the magnets line up and hold
Your bumblebee magnetic bookmark is now finished.
Project Tips
- Leaving bleed on helps prevent white edges
- Always test a corner before unloading in case a second cut is needed
- Bright lighting can interfere with sensor marks — dim or cover the light if needed
- This technique works with almost any SVG, not just bees


![How To Upload SVGs To Cricut Design Space [7 Easy Steps]](https://colormecrafty.net/wp-content/uploads/2022/06/Screen-Shot-2022-06-09-at-1.18.08-PM.png)

