
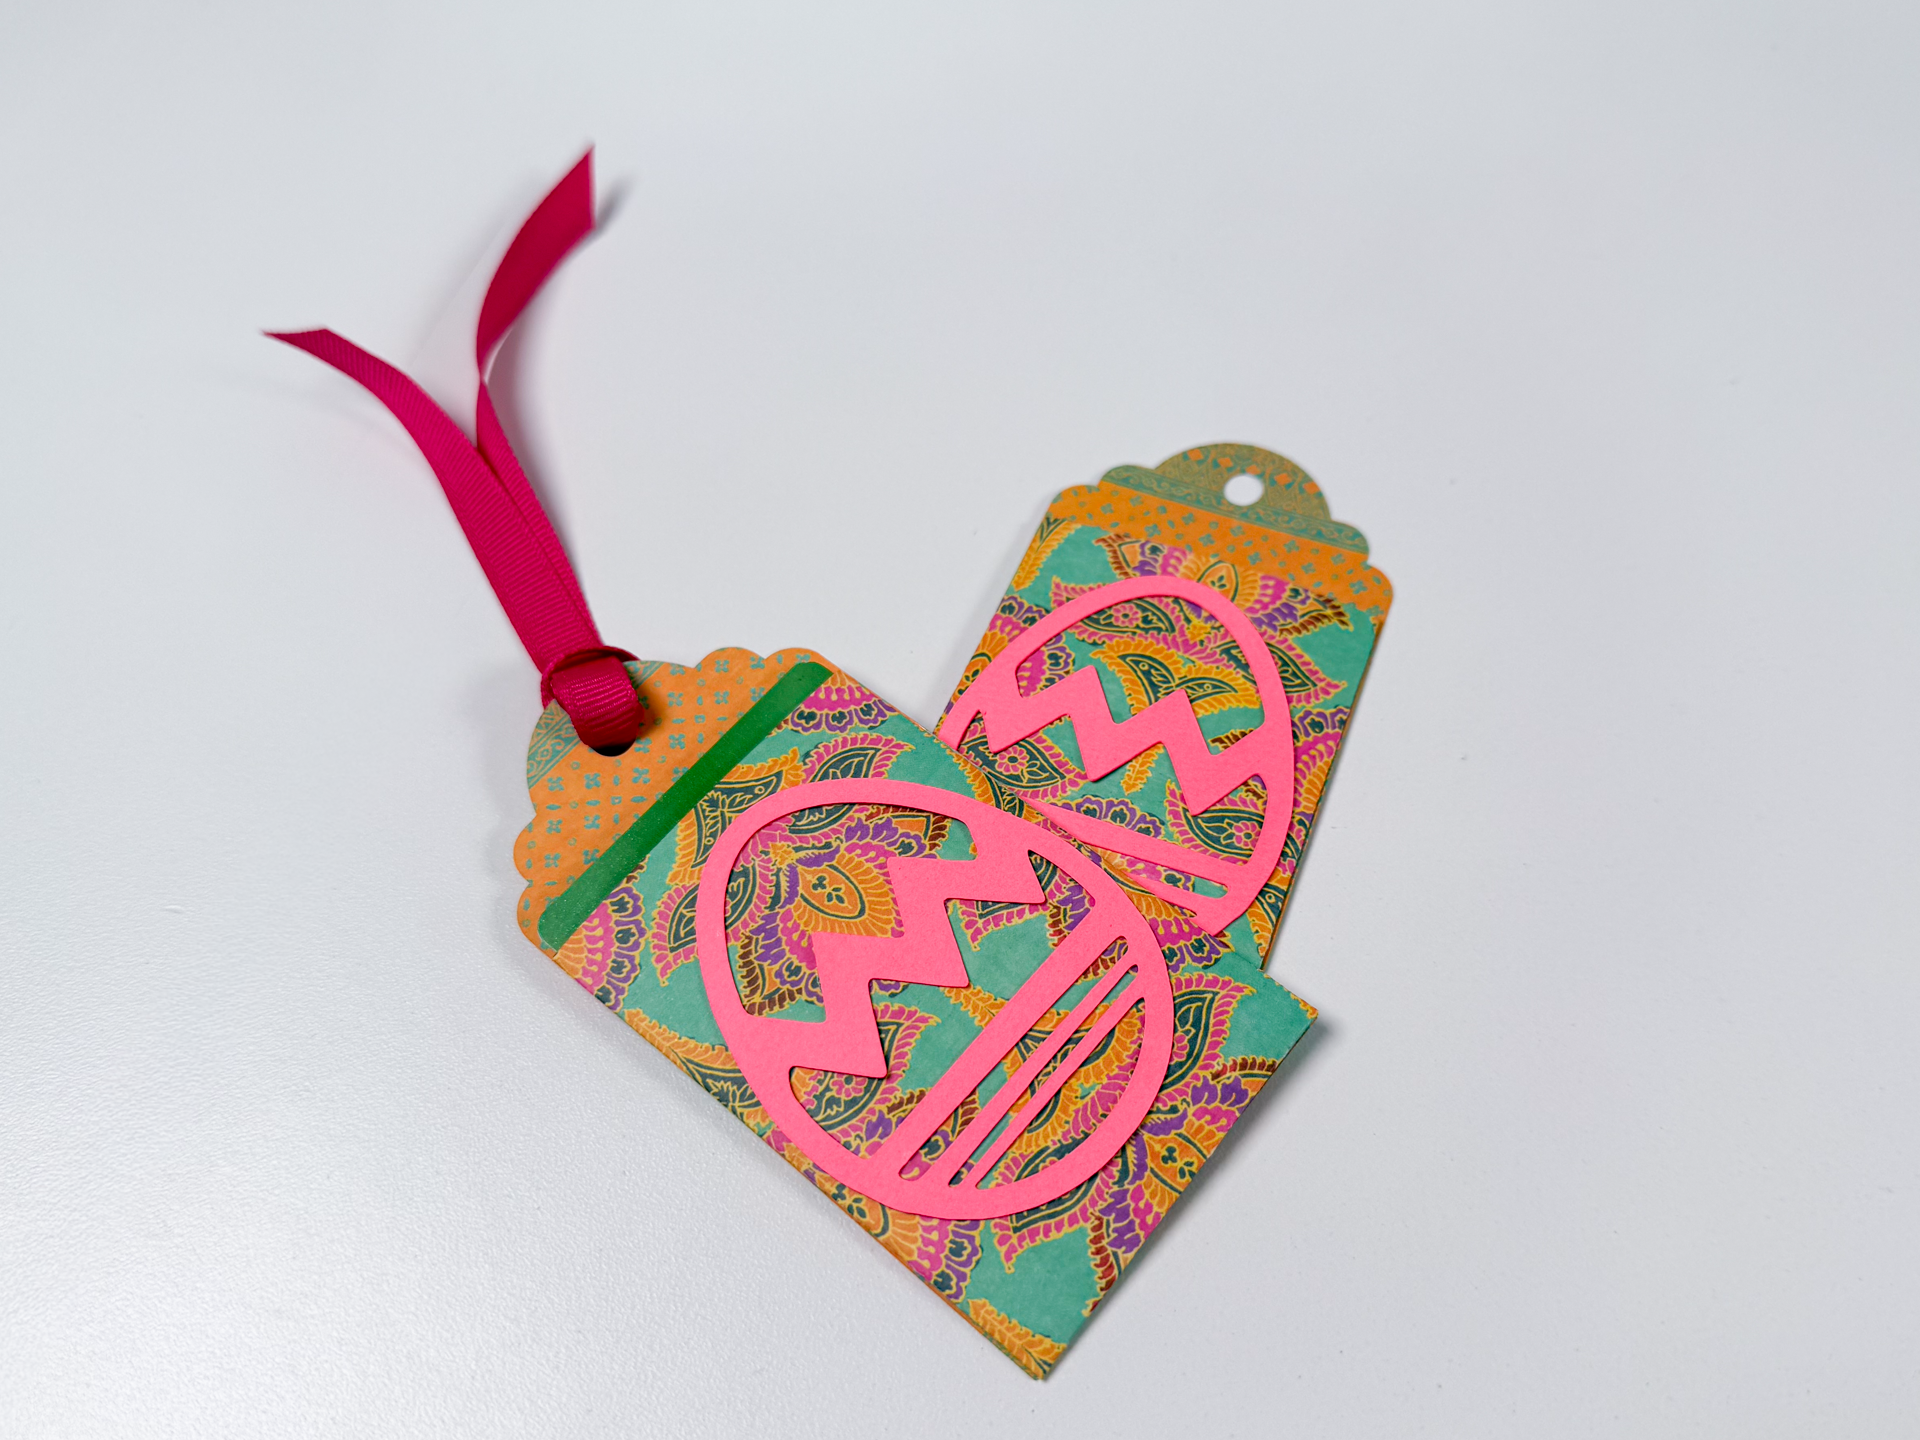
These paper gift card holder tags are perfect for Easter baskets, small gifts, or anytime you want to dress up a gift card without overthinking it. This project walks you through designing the holder in Cricut Design Space, adding score lines so it folds cleanly, and assembling everything with simple supplies. The finished tag holds a gift card securely and can hang right on a basket with a ribbon.
This is a great beginner-friendly paper project that still feels polished when it’s done..

Step 1: Shop the Supplies
Materials
- Cardstock (solid color for the pocket and decorative layers)
- Double-sided cardstock (optional, for a finished look inside and out)
- Ribbon (for hanging the tag)
- Glue (craft bond or similar)
- Tape runner
Tools
- Cricut cutting machine
- Fine-point blade
- Scoring wheel or scoring stylus
- Blue StandardGrip mat
- Brayer
- Scraper or bone folder
- Scissors
You can shop all of the Day 7 supplies in 1 place here.
Step 2: Download the Files
This project uses an SVG gift card holder and tag design. Download the SVG from the link in the description, then upload it into Cricut Design Space. The file is already sized correctly, so no adjustments are needed before uploading.
Step 3: Watch the Video Tutorial
The video tutorial shows you exactly how to: – Upload and ungroup the SVG in Cricut Design Space – Add score lines using the line shape tool – Attach score lines so they stay aligned during cutting – Resize decorative elements like the egg layer – Cut and score cardstock correctly – Assemble the pocket so the gift card fits securely
Design Space Skills You’ll Learn in This Project
This project is doing more than making a cute gift card holder — it’s teaching core Cricut Design Space skills you’ll reuse over and over.
You’ll learn how to:
- Upload an SVG and add it to a new canvas
- Ungroup a design so each piece can be edited independently
- Add score lines using the line shape tool
- Resize and position score lines accurately
- Use Attach to keep score lines aligned with cut layers
- Duplicate layers to create clean backing pieces
- Resize decorative elements to fit your project
- Manage multiple layers on a single mat
- Set material types correctly for cardstock projects
- Switch between scoring tools and cutting blades when prompted
- Prepare a project so it scores first, then cuts
These Design Space skills apply directly to cards, tags, envelopes, boxes, and any folded paper project.bels, bookmarks, and other Print Then Cut projects.n Space.
Step 4: Cut, Fold, and Assemble
Once your design is ready:
- Ungroup all layers in Cricut Design Space
- Add score lines using the line shape tool and attach them to the card pocket layer
- Set your mat size to 12 x 12
- Cut using the Medium Cardstock setting
- Insert your scoring wheel or stylus when prompted
After cutting:
- Remove the mat from the cardstock to avoid curling
- Fold along all score lines
- Use a scraper or bone folder to sharpen folds
- Glue the bottom flap to the sides to form the pocket
- Attach the pocket to the tag backing, lining up the edges
- Glue the decorative layer on top
- Thread ribbon through the hole, loop, and tighten
Your paper gift card holder tag is now finished.
Your bumblebee magnetic bookmark is now finished.
Project Tips
- Attaching score lines is critical so they don’t shift on the mat
- Medium cardstock works best for structure without being hard to fold
- Double-sided cardstock gives a more finished look inside the pocket
- Always remove the mat from the paper, not the paper from the mat


