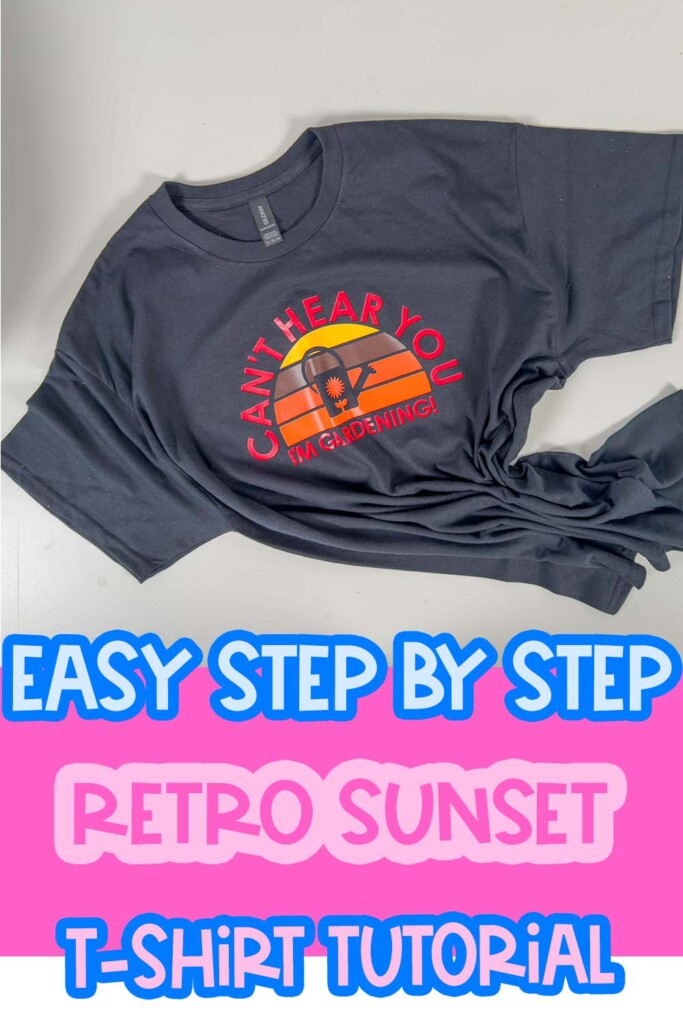
Let me be clear—this is not your average Cricut shirt tutorial. If you’ve ever wanted to make those bold, vintage-inspired sunset tees you see blowing up on Etsy, you’re about to learn how to make your own from scratch using only free tools in Cricut Design Space.
We’re talking clean layers, curved text, and that iconic retro color palette—all beginner-friendly, and completely customizable.
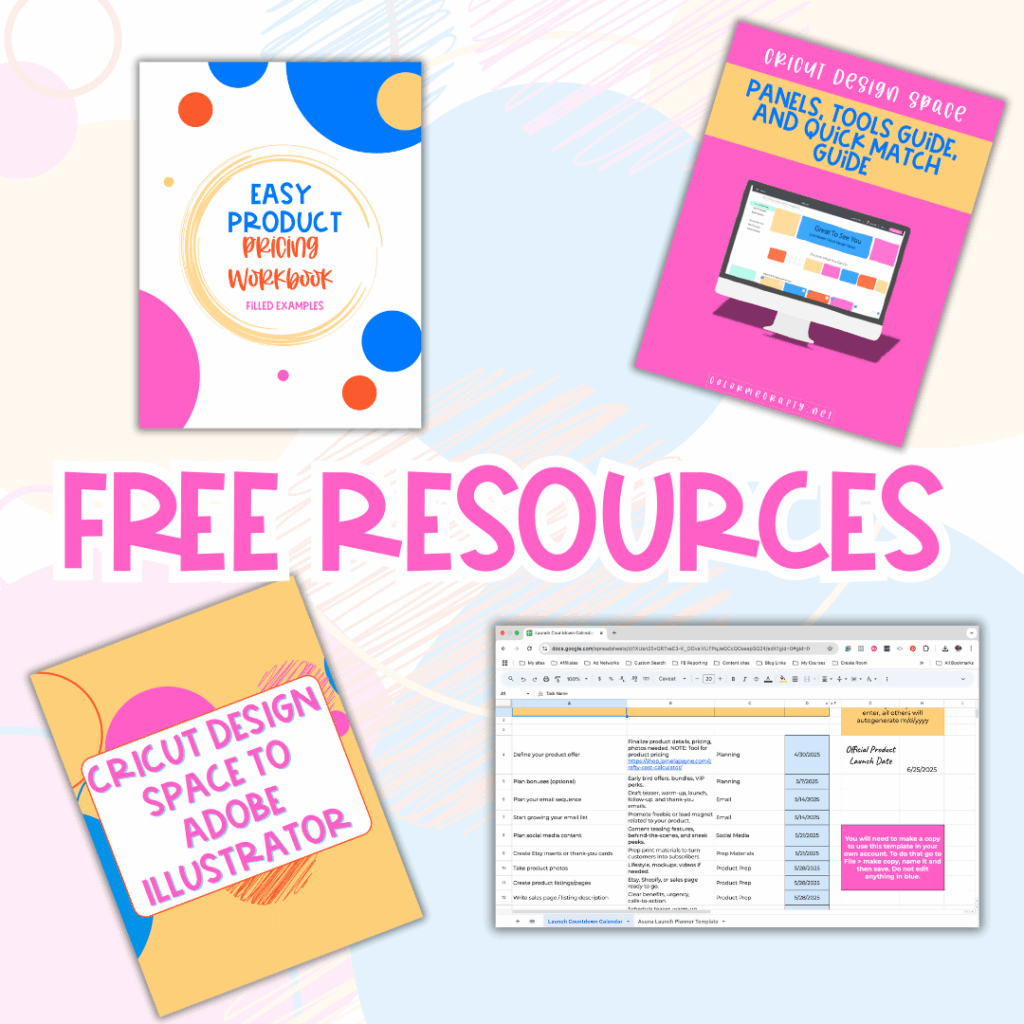
Want free resources to help you create and grow?
Check out my resource library for instant access to guides, templates, and tools you can start using today.
This is perfect for crafters who want a fun project or makers looking to expand their product line. You’ll walk away knowing how to slice your design into layered sections, curve your text, and assemble a five-color masterpiece that looks like it came straight out of a boutique.
If you’re selling your shirts? I’ve got something for you too—scroll down for the Crafty Cost Calculator to price it right.
And if you’re selling tees like this one, you’ll definitely want to check out for more inspiration. Not sure which vinyl to use? I’ve got you—this post breaks down the best Cricut vinyl for shirts so your designs actually last.
Let’s get into it. 🙌🏽
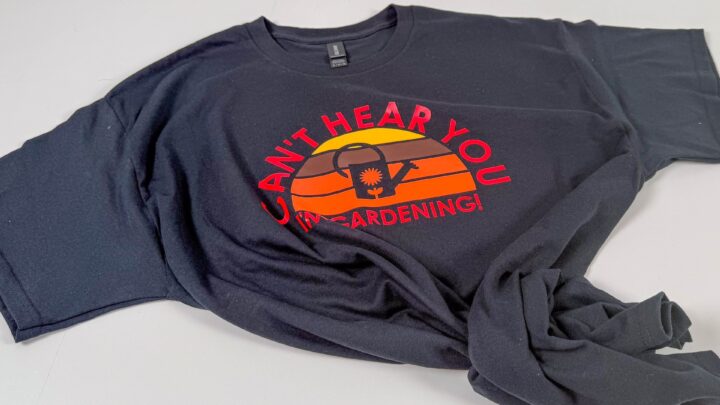
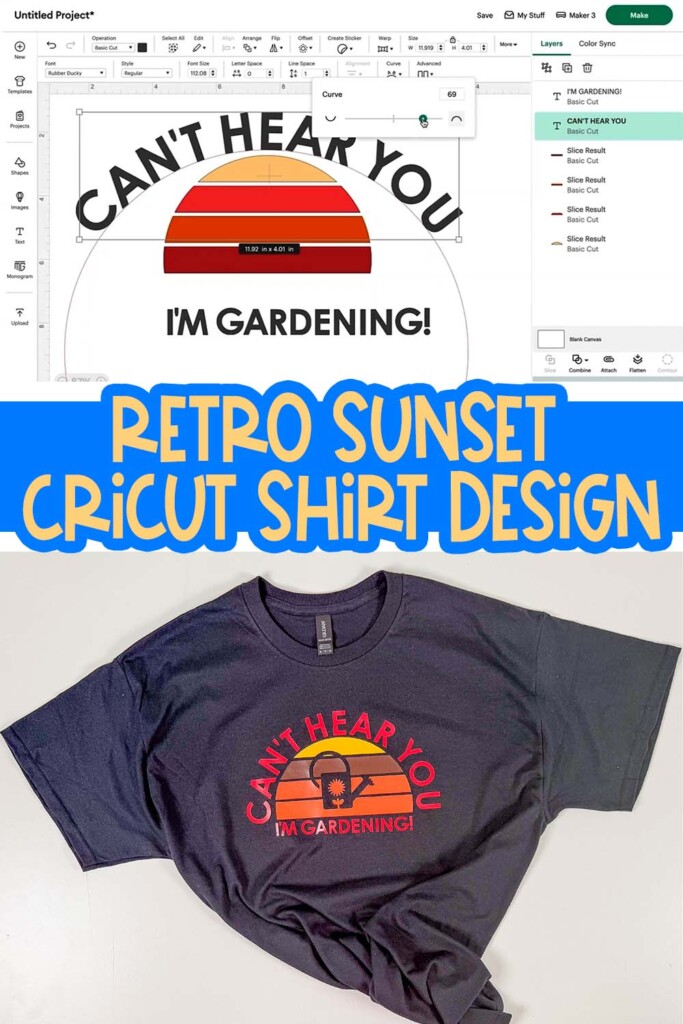
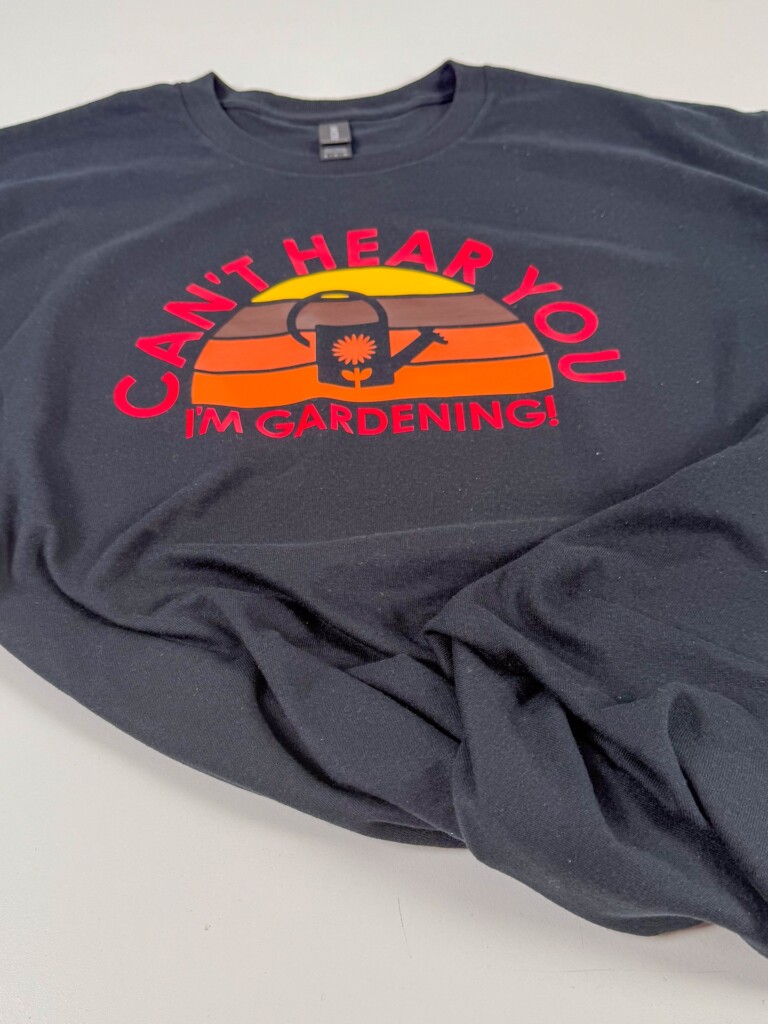
Retro Sunset Cricut Shirt Design Tutorial
Make a retro sunset Cricut shirt with free fonts and layered colors. Step-by-step tutorial, perfect for crafters and sellers alike.
Materials
- 12x12 green cutting mat
- Brayer + weeding tools
- heat press (set to 320°F)
- T-shirt (XL used in this tutorial)
- 5 colors of HTV (Caesar brand used: brown, yellow, Texas orange, orange soda, and red)
- Free fonts + images from Design Space (like a watering can)
Tools
- Cricut machine (Explore, Maker, or Joy)
- Cricut Design Space
Instructions
1. Design the Sunset Base
- Open a blank canvas in Cricut Design Space.
- Add a circle, then duplicate rectangles to divide it into horizontal strips.
- Use "Align" to distribute vertically and center horizontally.
- Weld the rectangles, slice with the circle, and subtract excess layers.
2. Slice and Customize
- Use rectangles again to slice each color section individually.
- Recolor each strip based on your vinyl choices.
3. Add Curved Text
- Insert your text (free font preferred).
- Use the "Curve" tool to wrap it around the top of your sun.
- Resize and adjust until you’re happy with the look.
4. Add a Design Element
- Search Design Space for a free plant or icon.
- Place it inside the circle; resize and align.
- Slice it layer-by-layer into the sun strips.
5. Prepare for Cutting
- Group and resize the final design to ~10.5” wide.
- Mirror the image.
- Arrange colors to cut on one mat using the "Move Object" feature.
6. Weed and Press
- Weed each color.
- Pre-press the shirt and fold to find the center.
- Align and press each layer with quick presses, ending with a full press on the last layer.