

Adhesive vinyl doesn’t have to be a headache and neither does layering it. Learn How To Layer Vinyl for your own Starbucks cups, without the Starbucks logo of course. Plus grab this free Inspired Halloween Starbucks SVG, free.
Firstly, let me say, layering vinyl is pretty easy, people tend to overthink it. The trick is to use transfer paper to layer the design first.
Not to mention, I have made it extra easy in these Starbucks-Inspired SVG files. I made sure it has registration marks so you can easily overlap the layers.

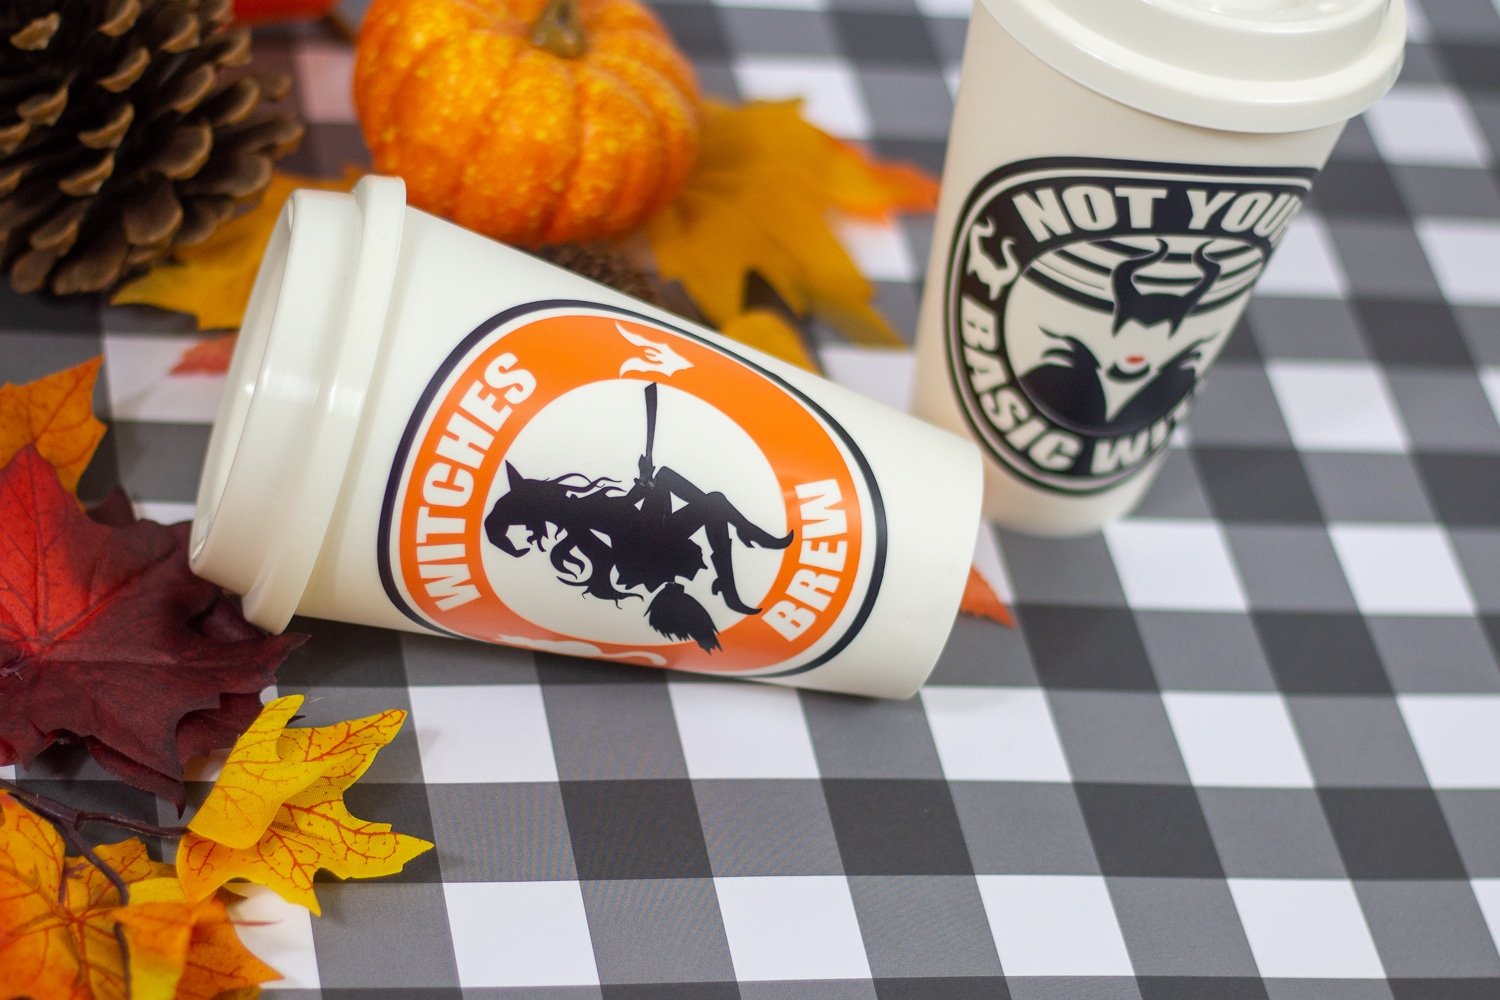
Starbucks Inspired Disney Maleficent SVG
The best vinyl is permanent adhesive vinyl or outdoor vinyl to make your layered vinyl decal. This will make the design permanent but it still will not be dishwasher safe.
Indoor vinyl is generally removable and you want a longer lasting adhesive if you are making a cup. My favorite to use is Oracal, however, I do like Kassa Brand too.
You can seal your artwork with epoxy, or even try dishwasher-safe Mod Podge to seal in the design.
For example, I am going to show you how to set up your SVG design in Cricut Design Space. Secondly, I am going to show you how to make customized Starbucks cups. Plus also how to use multiple colors to achieve the look.!
Nevertheless, these Starbucks coffee-inspired SVG files are the perfect way to learn about layering.
After all, you just have to follow the directions closely, and you will be layering like a pro in no time.
These would also go great on your Starbucks cold cups, they are perfected for putting in an iced pumpkin drink!

How To Apply Vinyl To A Plastic Cup?
Here are some of the things that you will need to layer vinyl for this craft and others.
- Kassa Permanent Vinyl
- Transfer Tape
- Kassa Squeegee/Scraper
- Reusable Plastic Coffee Cups
- Acetone or alcohol
- Cotton or Paper towel
- Weeding Tool
- The free SVG. file for Cricut, you can grab the digital download below
- Cutting Machine
You will need to use acetone to make sure there is no grease or residue on the surface area.
You can use this method on a stainless steel tumbler. Just follow the instructions below to layer the image onto the transfer tape, removing the paper backing between each layer.
How many layers of vinyl can you layer?
I’ve layered as many as 5-6 layers on 1 project. The thing to keep in mind is that your design gets thicker with each layer.
Also, some types of vinyl are thicker so it may take fewer layers to get to where it’s no longer attractive.
Can you layer vinyl on top of glitter vinyl?
Glitter has grains. For that reason, it is hard to layer on top of it. However, you can layer glitter vinyl over top of the regular adhesive.
I love a good and cheap project and this one will cost you less than $3 to make each 1! This vinyl decal will make you the talk of your local Starbucks.
Not only does it look great on a hot cup. With a few adjustments, it would be awesome on any Starbuck tumblers.
For these reusable cups, I just removed the design that was on the front and made it my own.
I can not live without coffee so these are some of my favorite things to make.
Well, I love doing cups in general.
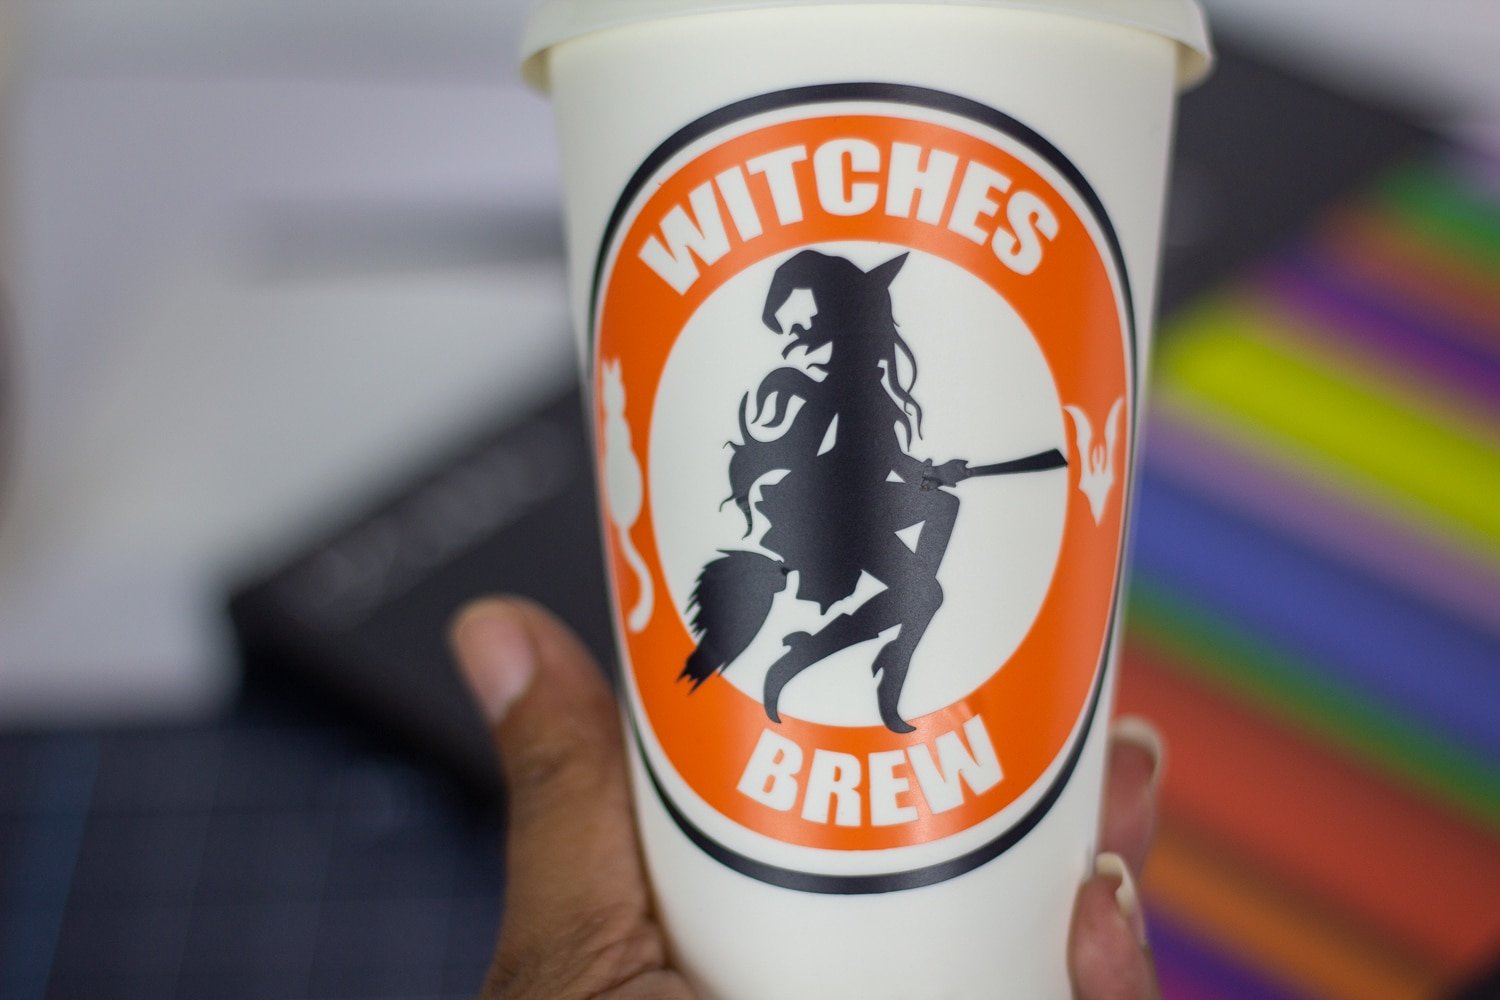
Grab The Witches Brew Free SVG Files
More Great Halloween SVG Cut Files!

Also, for more projects with adhesive vinyl, you should check out this Cricut Halloween Doormat its a really fun and easy project. Also, make sure to take a look at the Halloween Wreath! After today, you will know how to layer vinyl for future crafts!
More awesome Cricut Crafts!
- Infusible Ink Transfers Layering Tutorial
- How To Layer Cricut Infusible Ink Story
- Cricut Infusible Ink Tie Dye + Free SVG
- Sublimation Backpack + Free Brightest Crayon File
- Sublimation Tie Dye Teaching Is My Jam + Free SVG

How To Layer Vinyl & Free Halloween Coffee Cup SVG
Adhesive vinyl doesn't have to be a headache and neither does layering it. Learn How To Layer Vinyl for your own Starbucks cups, without the Starbucks logo of course. Plus grab this free Halloween SVG.
Materials
- Permanent Adhesive Vinyl
- Transfer Tape
- Squeegee/Scraper
- Reusable Plastic Coffee Cups
- Acetone
- Cotton or Paper towel
- Weeding Tool
Tools
Instructions
- Gather all of your supplies and apply the acetone to your paper towel or cotton and remove the words from the cup using a circular motion and set them aside.

- In your cutting program resize the images to 4 inches and cut them out using the permanent vinyl setting. Then remove from the mat and weed out the voided areas
- It should look like this when you are done.
- Cut a piece of transfer paper just large enough to cover your design. Grab the 1st layer of the design. Place it over your design
- Use your scraper to remove the air between the design and the transfer paper

- Next, grab the other piece of your design line up the registration marks between the 2 layers
- Your vinyl is now layered the way it should look on your cup
- Remove the paper backing by gently peeling it away
- Place the design onto your cup, I like to secure the middle then 1 side at a time
- Again use the scraper to transfer the vinyl from the transfer sheet onto the cup
- Hand wash only


![Easy Sublimation On Cotton With Glitter HTV [Video]](https://colormecrafty.net/wp-content/uploads/2021/05/sublimation-on-cotton-8-scaled.jpg)


Thanks so much always wanted to try my hand a multi colors. Cant wait to give the a try.
I’m so glad this was helpful to you!
So much valuable info. I personally do shirts but these are great ideas if i decide To gift out of my usual crafting. So appreciative <3