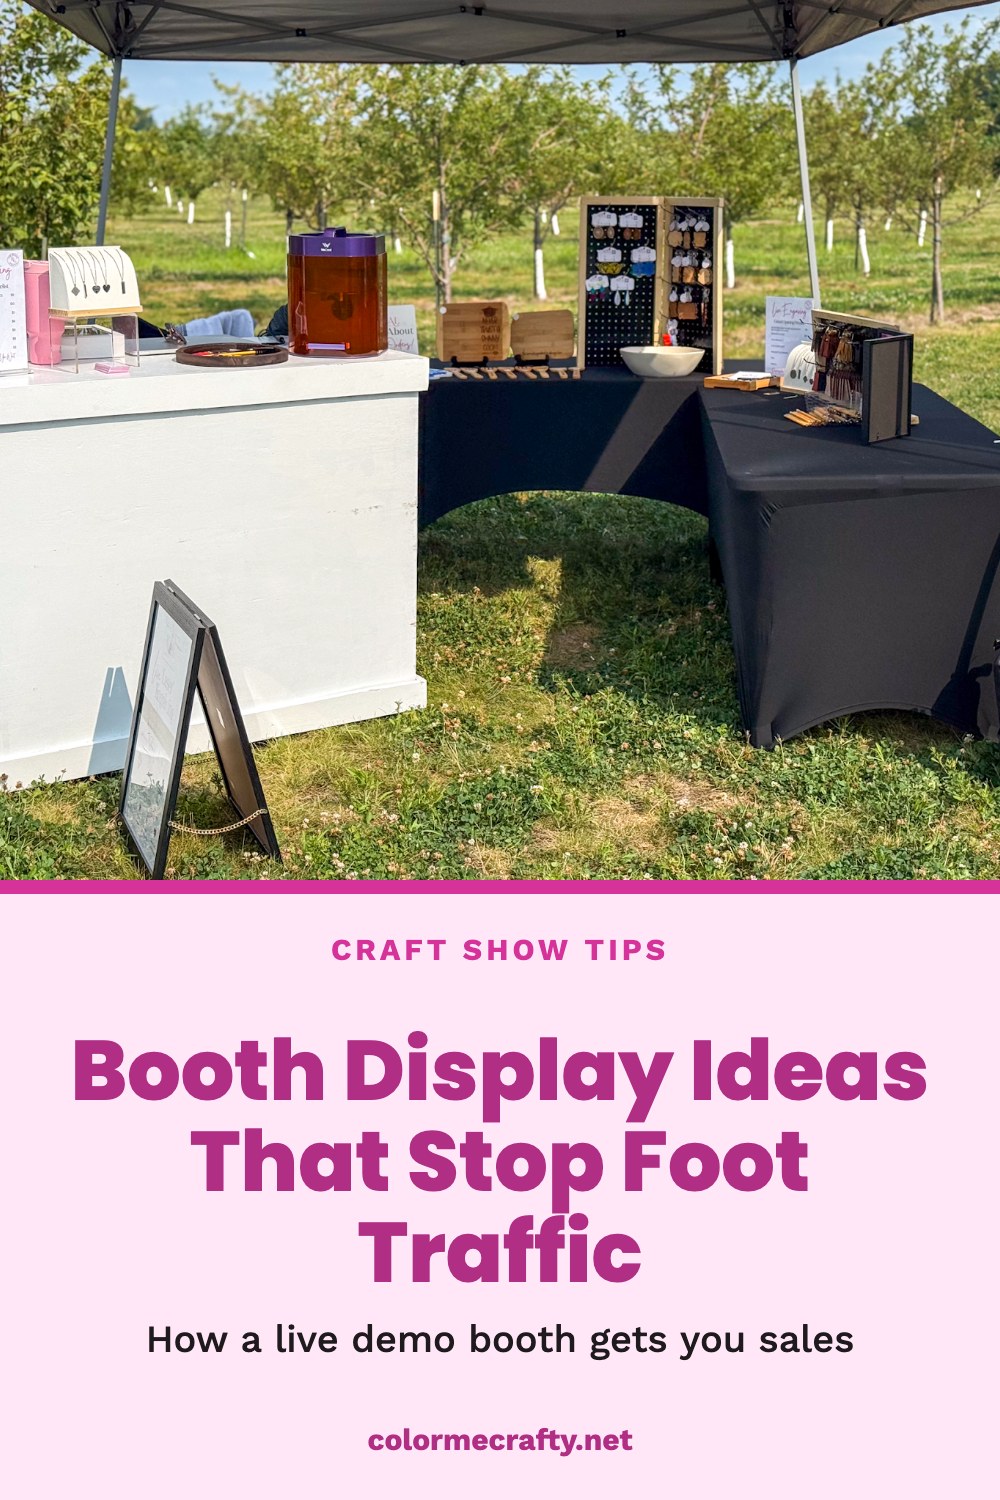
Most craft show display ideas focus on what your table looks like. Mine changed when I started focusing on what my booth was doing. I didn’t get my demo booth right the first time out, and I don’t think anyone does. Every market I’ve done this year, I’ve walked away changing something: the layout, what I’m demoing, even where I stand. Here’s how my setup has evolved, event by event, and what I’d tell you if you’re building your first one.
My First Craft Fair Booth (And What Was Wrong With It)
My first booth was basically a table of finished pieces, priced and laid out like a mini shop. It looked fine, but it acted like every other vendor table around it. People glanced, maybe picked something up, and kept walking. Nothing about it made them stop. I wasn’t giving anyone a reason to linger, and at a craft fair, lingering is most of the battle.
What I Changed After a Few Events
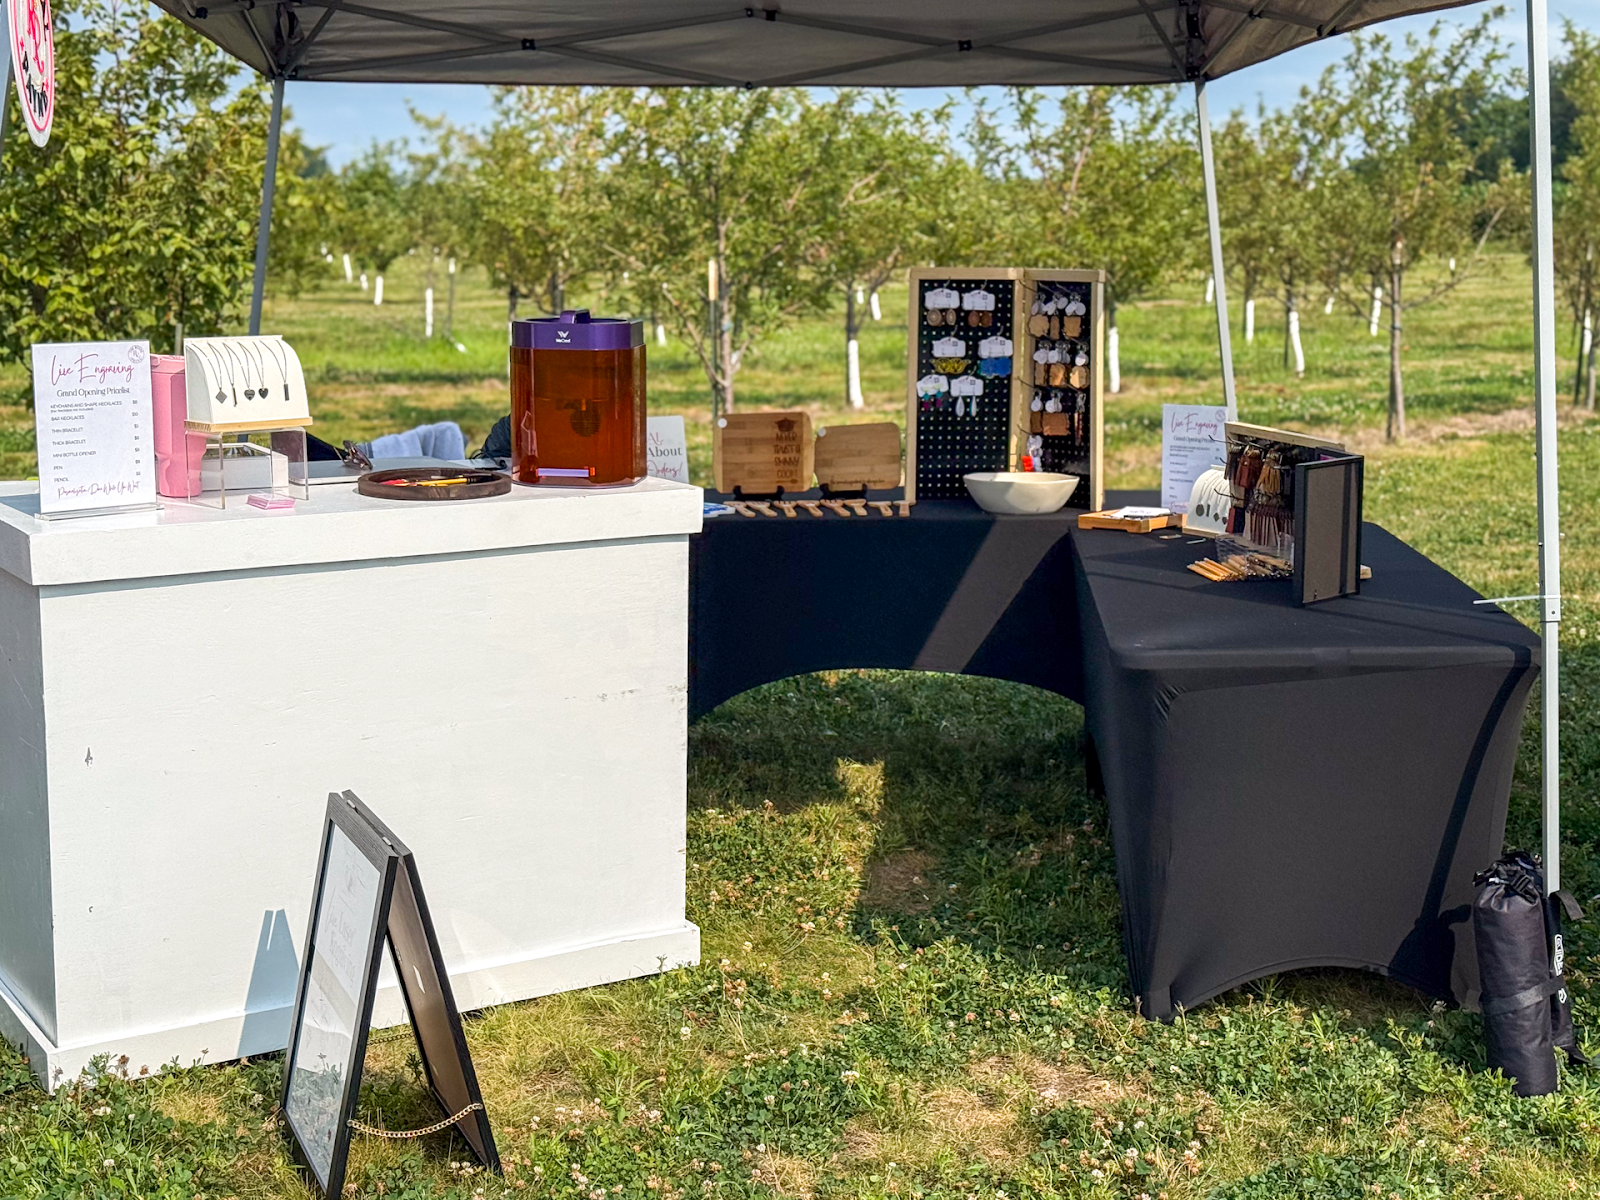
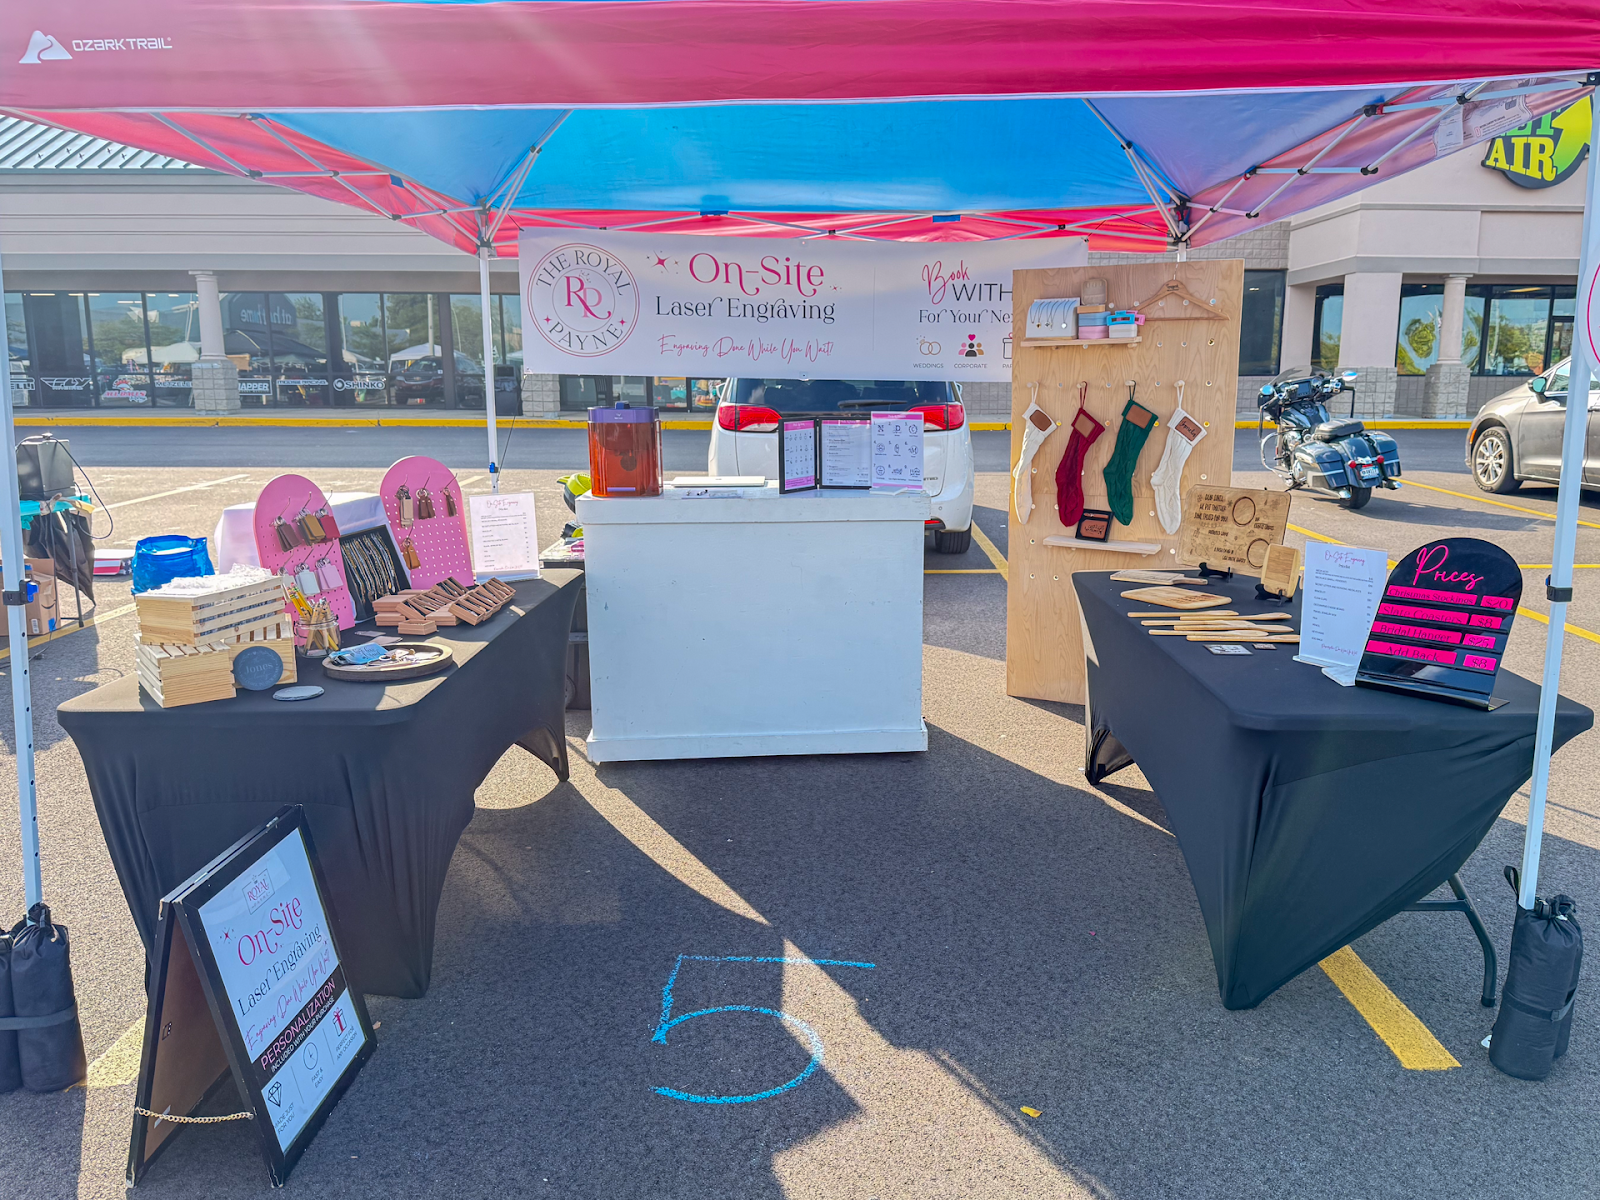
The biggest shift was moving the demo itself to the front of the booth instead of tucking it in the back. If people can’t see something happening as they walk by, they have no reason to slow down. I also cut down how many finished pieces I had out. A giant spread of options is overwhelming, and I found people made a decision faster with fewer choices in front of them. Signage got simpler too. Instead of a sign explaining everything I sell, I just put up something that said what was happening right in front of them, like “Watch it made live.”
Why a Live Demo Is the Best Craft Show Display Idea
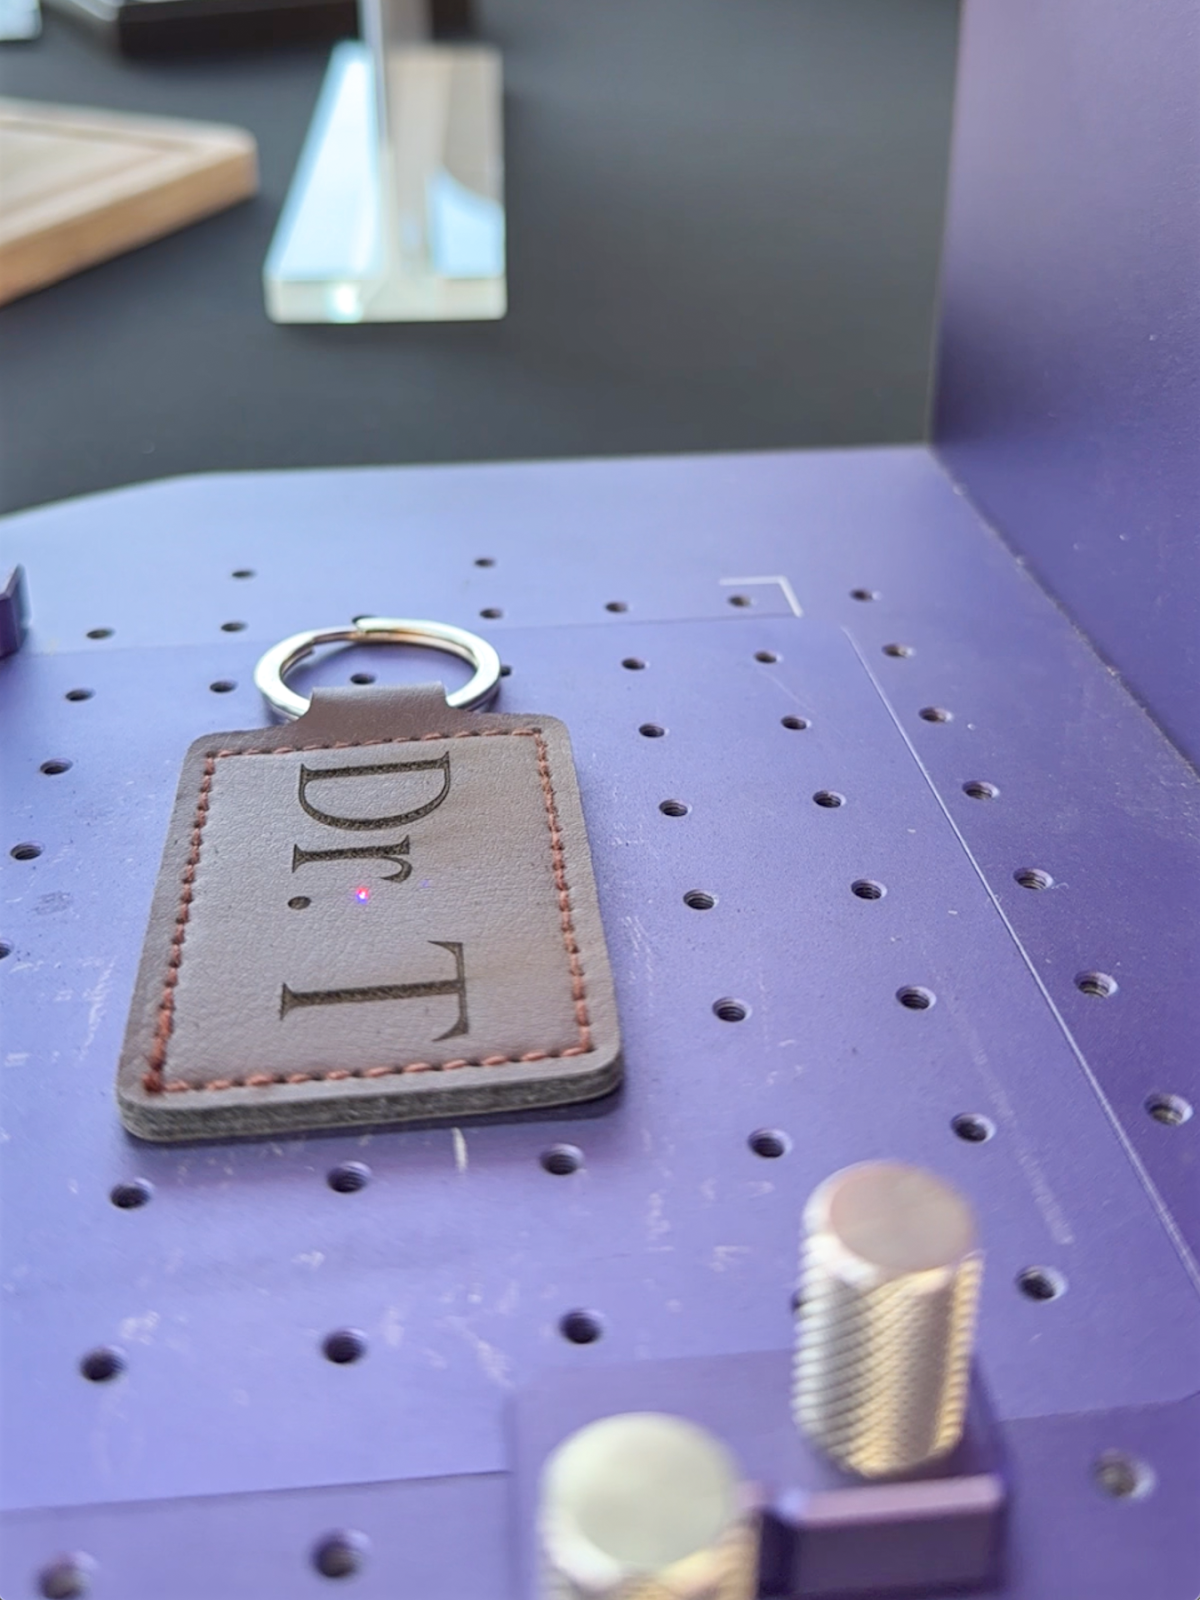
The single biggest change wasn’t a layout tweak. It was actually being mid-process when people walked by instead of just standing behind a finished table. Watching something get made is interesting to people, and it stops foot traffic in a way a sign never will. Kids especially plant themselves and watch, and their parents wait with them, which gives me time to actually talk to someone instead of getting a five-second glance. It also does the selling for me. Once someone’s watched a piece come together, they understand what they’re paying for in a way a price tag can’t explain.
Craft Show Display Ideas That Work With a Live Demo
If you’re building a vendor booth around a demo, these are the display ideas that make the biggest difference:
- Put the demo at the front edge of your table. Your working area should be the first thing someone sees from the aisle, not something hidden behind you.
- Add height. Risers, crates, or shelves get finished samples up to eye level so people can see them from a few booths away.
- Use one clear sign. A short line like “Custom engraving while you wait” or “Made live” works better than a sign that lists everything you sell.
- Show finished samples next to the demo. Let people see what the end result looks like while they watch one being made.
- Keep prices easy to see. Simple price signs save people from having to ask, which a lot of shoppers won’t do.
- Leave room to stand and watch. Don’t block the front of your booth with extra tables or bins. People need a spot to stop.
- Bring your own lighting if you’re indoors. Venue lighting can be dim, and a demo is only interesting if people can see it.
How to Choose What to Demo at a Craft Fair
Not every craft makes a good demo. The best ones are quick, easy to follow from a few feet away, and end with something the customer can take home. A few questions to ask yourself:
- Can you finish it in a few minutes? People will watch for a while, but most won’t stand there for half an hour.
- Is the process visual? Engraving, heat pressing, painting, and personalizing are easy to watch. Things that happen mostly on a computer screen are harder.
- Can it be personalized? Adding a name or initial right there turns a watcher into a buyer.
- Is it safe for a crowd? Think about heat, fumes, sharp tools, and curious little hands before you pick your demo.
For me, that’s live laser engraving, and I wrote about engraving pieces step by step if you want to see what goes into it. If you’re still deciding what to sell in the first place, my list of handmade items that sell is a good place to start.
Craft Fair Tips for Beginners: What I’d Tell You Before Your First Booth
Start simpler than you think you need to. It’s tempting to bring your entire catalog to the first market, but a smaller, focused setup is easier to demo and easier for customers to take in. Put whatever you’re actually making front and center where people can see it from the aisle, not behind you or off to the side.
Expect to change things. Pay attention to where people actually stop versus where they just walk past, and adjust before your next event instead of waiting until the end of the season. The booth that works in month three probably won’t look like the one you started with, and that’s normal.
It also helps to know your numbers before you go. Event fees, materials, and your time all add up, so check out my guide on how to price handmade products before you set your booth prices.
Vendor Booth Checklist
Here’s a quick list to run through before you pack up for a show:
- Table, tablecloth, and risers or shelves for height
- Your demo setup, plus extension cords and a power strip if you have power
- One clear sign for the demo and simple price signs
- Finished samples to show the end result
- A way to take card payments, plus some cash for change
- Bags or packaging for finished pieces
- Business cards or a sign with your shop and social links
- Extra supplies for the demo so you don’t run out mid-day
Getting people to stop is only the first step. My post on the best places to sell handmade products covers other online and local options, and branding your handmade business helps people remember you after the show.
It’s Still Evolving
I don’t think of my booth as finished. I’m still tweaking it every time I set up. If you’re just getting started with in-person markets, give yourself permission to get the first one wrong. Watch what happens, change one thing at a time, and let it evolve the way mine has.
Craft Show Display FAQ
How do I get people to stop at my craft fair booth?
Give them something to watch. A live demo at the front of your table stops more people than a table of finished items. Keep your signage short, add height so your booth is visible from a distance, and leave space for people to stand.
What should I demo at a craft show?
Pick something quick, visual, and easy to personalize, like engraving, heat pressing, or adding a name to a piece. Make sure it’s safe to do around a crowd.
How many items should I bring to my first craft fair?
Fewer than you think. A focused selection is easier for shoppers to decide on and easier for you to manage while you’re demoing.
Have you tried a live demo at your booth, or are you thinking about it? Drop a comment and tell me what you make. I’m happy to help you figure out what would work as a demo.