Cricut print then cut stickers are super easy to make!
Whether you want to make your own custom stickers, save money from buying planner stickers at the store, or just looking for a unique print-then-cut project, you’ll love this step-by-step tutorial on making print-then-cut stickers.
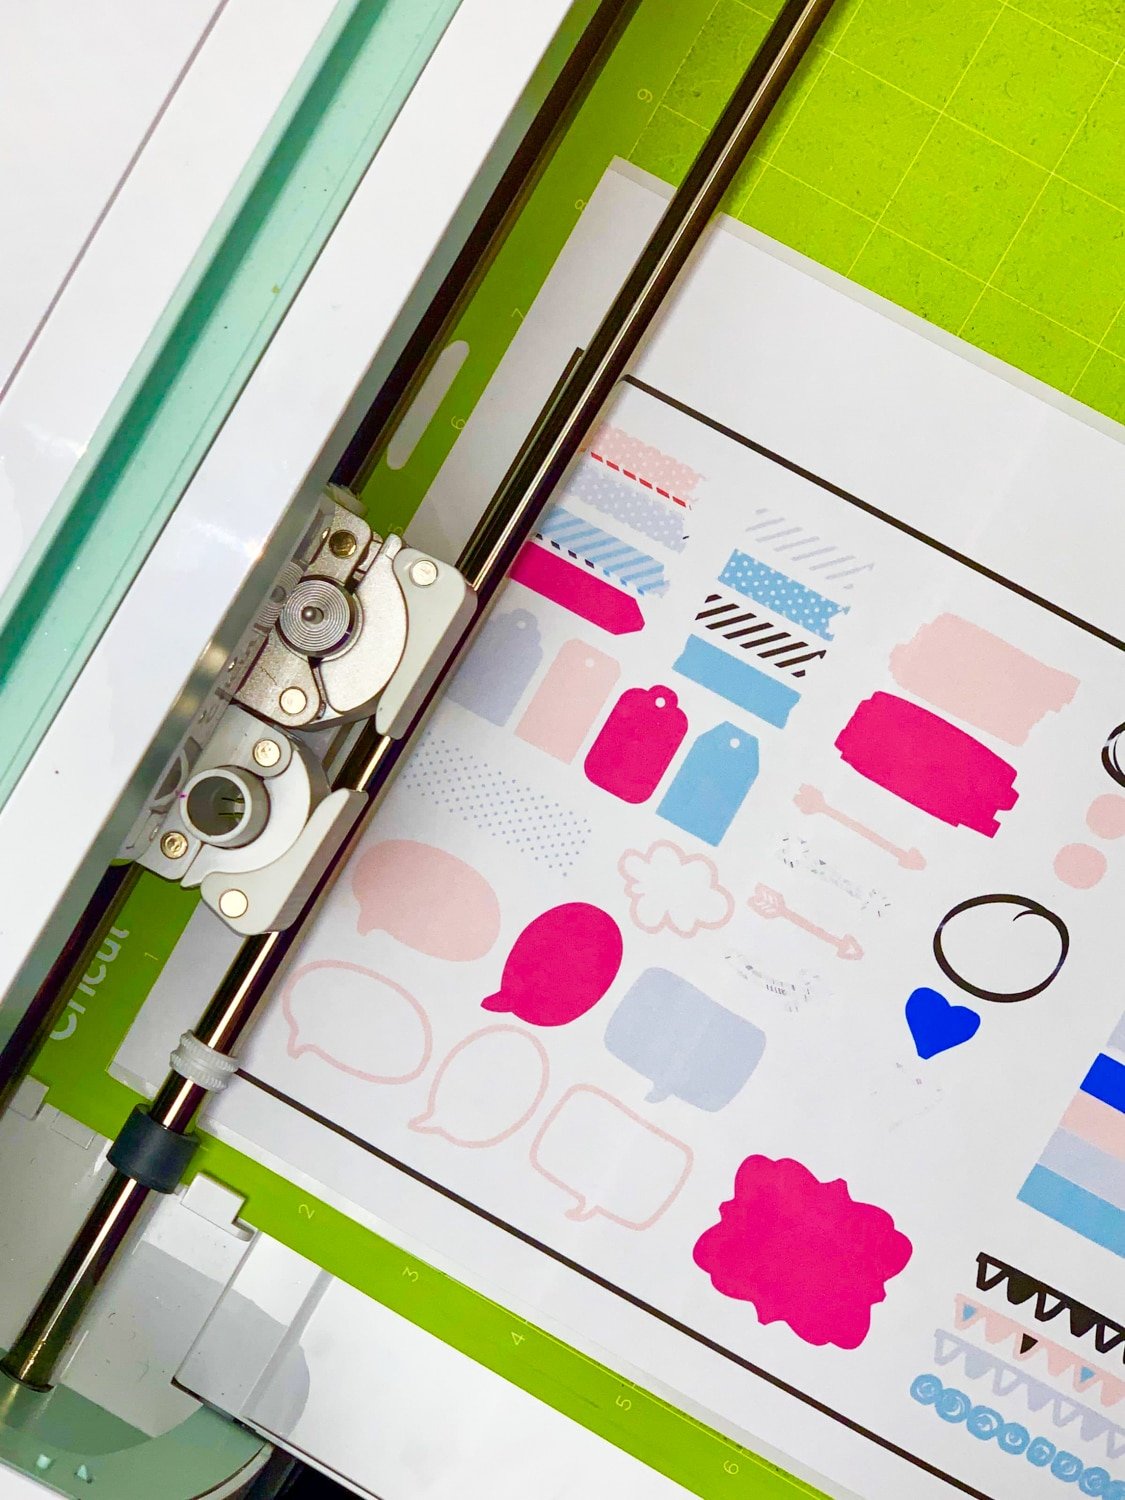
All you need to make your own Cricut stickers is a sticker sheet, an inkjet printer, and your Cricut machine. But don’t worry, I will share more about the supplies and tools you need in this blog post.
I have some fantastic free printable planner stickers that are great for any planner, and because you make them yourself, they are way cheaper than the happy planner stickers.
Download these free planner stickers and use the Cricut Design space print then cut feature, or you can even cut them out by hand.
Making Your Own Planner Stickers With A Cricut
Decorative planners have picked up on a trend lately and for a good reason. It has helped many get organized and even find a way to release stress and have fun planning each week.
Now, the Cricut print then cut feature makes it possible to make your own stickers.
You can make the cutest stickers or stickers that suit the theme of your planner. There are so many options!
Teaching my older kids how to make and do a planner is a great way to help them get organized and learn responsibility.
It also helps them get some artistic and imaginative elements used, as they can decorate however they feel it fits their needs.
Sitting down with your child, working on your planners together, and having fun stickers to decorate with is always fun.
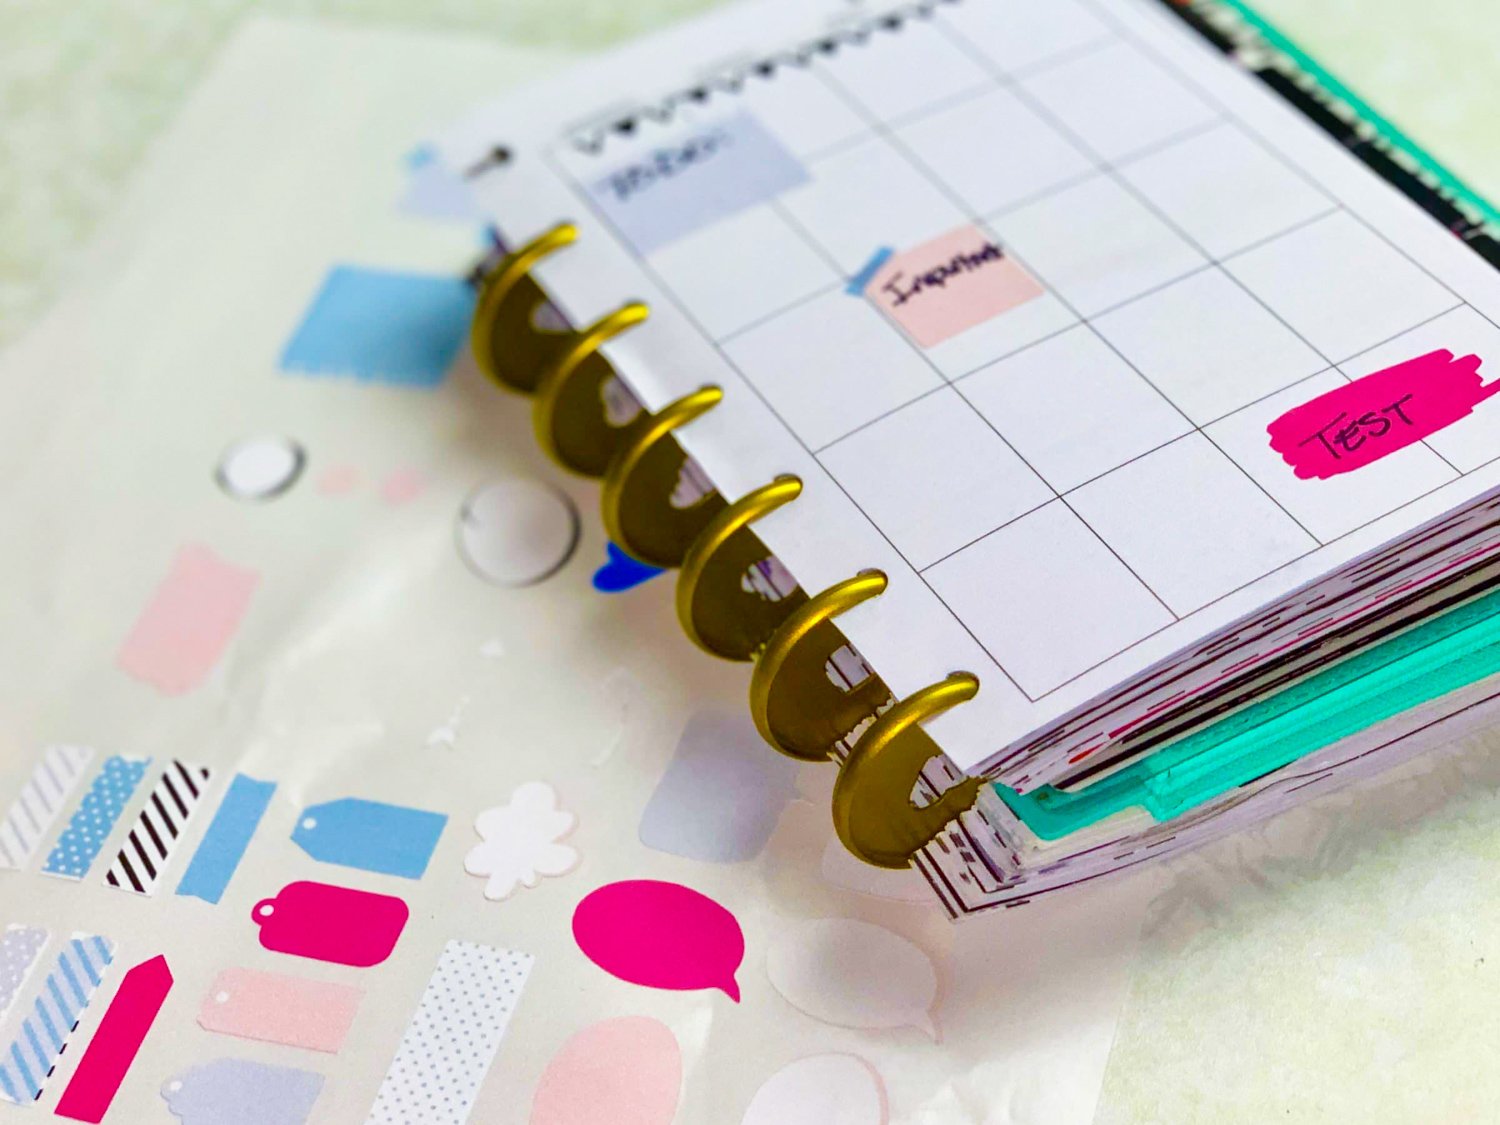
Other Ways To Use Print Then Cut Cricut Stickers Cricut
While planners tend to be the most popular, you can use print then cut Cricut stickers in other ways.
You can make waterproof stickers or kiss-cut stickers for home organization, birthday party goody bags, chore charts, presents, and so much more.
What Kind Of Stickers You Can Make
Not only can you use these stickers in so many ways, but you can also make stickers out of anything you want!
You can use:
- your own images (Upload the image file into Cricut Design Space and set it up for print-then-cut.)
- SVG or PNS designs (Scroll to the end of this blog post to find free SVG files for your stickers!)
Basically, any printable image can be made into a sticker, just as long as you make sure the background is transparent on the cut image so you can get the perfect cut.
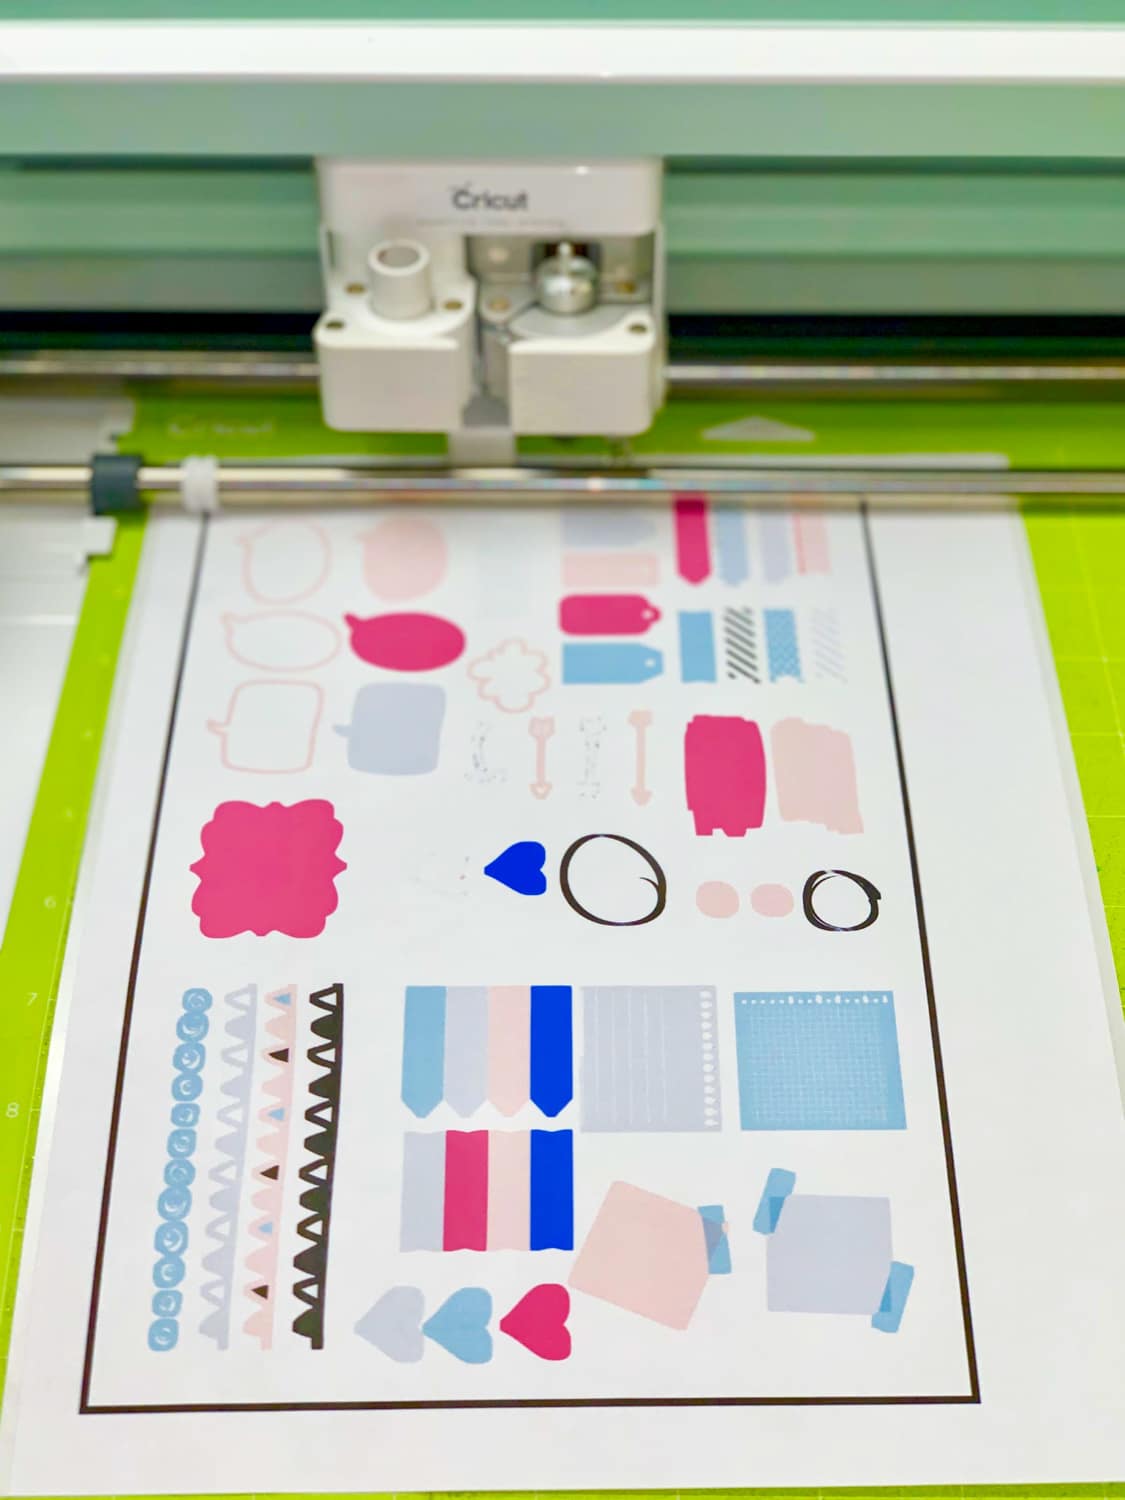
Which Cricut Machine Should You Use?
Any Cricut machine will allow you to make your own custom stickers, including the Cricut Joy, Cricut Explore Air, Cricut Maker, etc.
As long your machine works with Cricut Design Space’s print-then-cut feature, you’re good to go!
Even though I go into more details below, you’ll set up the adjustments for the size of printable sticker paper you’re using, print, and place on your Cricut cutting mat. Then in your Cricut machine, you can follow my directions on how to get perfectly cut stickers.
It is so easy to do and much cheaper than buying sticker packs for your planner. Because while I love buying stickers for my planner, the cost can add up quickly.
Which Is The Best Sticker Paper For Print Then Cut Stickers Cricut
You can buy different sticker paper bundles to make your print then cut stickers with your Cricut machine. But which ones are the best?
My personal favorites include:
- Cricut Sticker Paper
- Printable Vinyl Sticker Paper
- Easy-Peel Sticker Paper
- Clear Sticker Paper
If you want a side-by-side comparison of the best sticker paper options, read this helpful guide from Angie Holden.
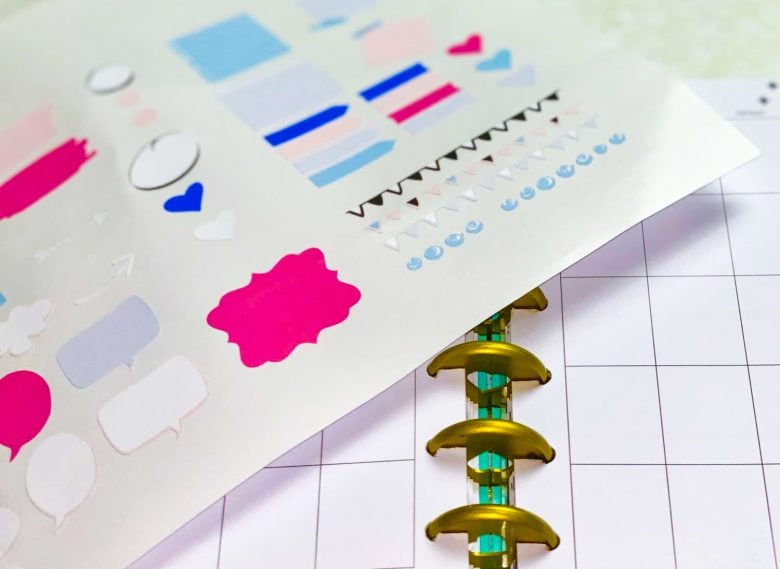
Supplies & Tools Need To Make Print Then Cut Stickers Cricut
To make your sheets of stickers, you’ll need:
- Sticker Paper
- Design Software (If you’ll be using print-then-cut, open Cricut Design Space.)
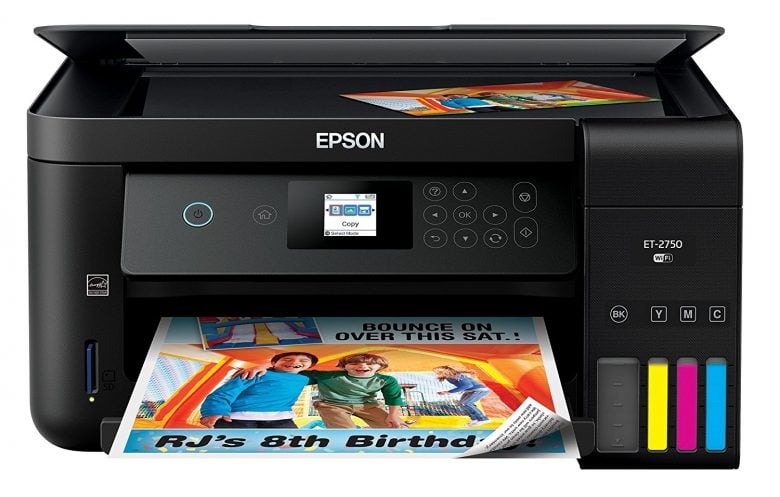
- Home Printer (I recommend using a laser printer, like the Epson ET 8550.)
- Your Cricut machine (with a fine point blade)
- Cutting Mat
Note: If you do not have a cutting machine, you can still download the file to make stickers. It just means you’ll have to cut them by hand.
How To Get The Best Results
Test, test, test! Consider doing a test run before using your precious designs, especially if you’re using a new type of sticker paper or experimenting with settings.
Make sure to use the flatten tool with your cut file before printing. The flatten feature of print-then-cut can be super confusing, so I put together a complete guide on how to use it, which you can read here.
Keep an eye on the size of your stickers. If they’re too small, intricate cuts might be a challenge. If they’re too big, they might not stick as well.
When setting up your registration marks, make sure they are clear and work well for the type of sticker paper you use. Testing can also come in handy here.
How To Make Print Then Cut Stickers Cricut
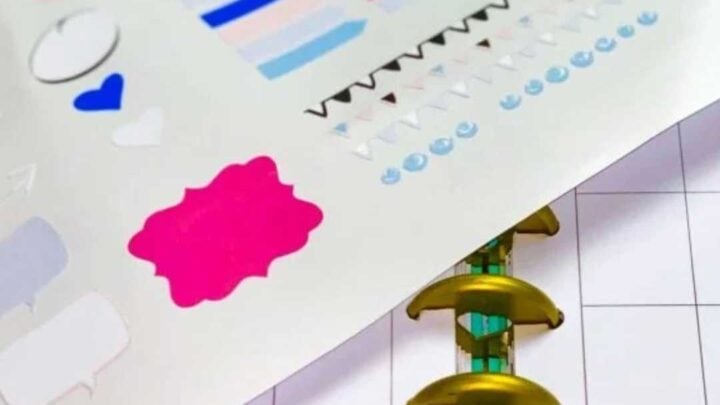
Learn how to make print then cut stickers with a Cricut machine in this step-by-step tutorial, including tips to find free sticker designs.
Materials
- Sticker Paper
- Standard Grip Mat
Tools
- Laser Printer
- Cricut Machine
Instructions
- Download the free file.
- Upload the image to Design Space.
- Save as a Print then Cut file.
- Adjust the size for print.
- Remember, the largest you can do is 9.25 x 6.75.
- Load your printable sticker paper into your printer.
- In the layers panel, there are no adjustments, but you do need to click send to your printer (leave the bleed on)
- When it has finished printing, put the paper onto your standard grip mat.
- Load into your machine.
- Click Make it.
- After printing, unload your planner stickers from the printer and place them on a Cricut cutting mat
- For materials, select sticker paper.
- Press the button on the machine to cut.
- Unload and use your custom stickers!
Notes
To Hand Cut
- Download and unzip the file
- Load this paper into your printer
- Unload from printer
- Cut by hand
- Use your stickers!


