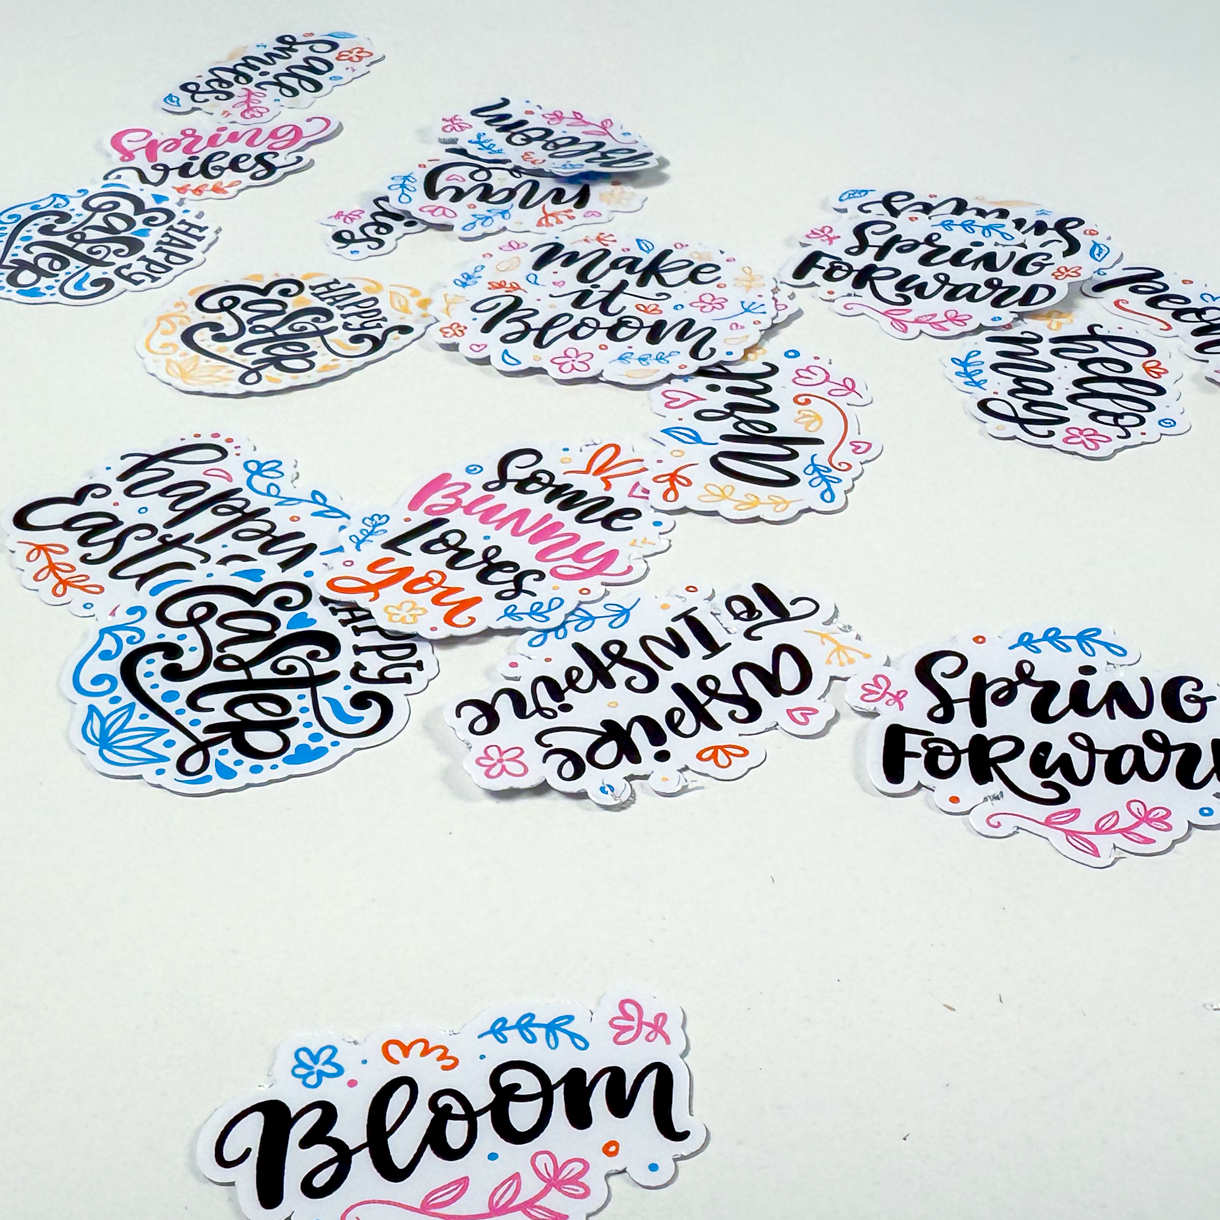
This Hello Spring decal is one of those projects that looks complicated but comes together step by step when you slow it down. In this class, the decal is applied to the back of a glass cutting board, but the same design works for windows, car decals, or any smooth surface where you want the design to show through.
This is a great project if you’re ready to practice layering vinyl, working with offsets, and assembling a more detailed design without rushing.

Step 1: Shop the Supplies
Materials
- Adhesive vinyl (white for the base + colored vinyl for the design)
- Transfer tape
- Parchment paper
- Glass cutting board or other smooth surface (optional)
- Rubbing alcohol (for surface prep)
Tools
- Cricut cutting machine
- Fine-point blade
- Green StandardGrip mat
- Weeding tool
- Scraper or burnishing tool
- Brayer
- Scissors
- Pen or pin (for releasing air bubbles)
You can shop all of the Day 3 supplies in 1 place here.
Step 2: Download the Files
This project uses a layered SVG design. Download the design and upload it into Cricut Design Space. Once uploaded, the design will appear on your canvas ready to prepare for a decal.

Step 3: Watch the Video Tutorial
In the video, you’ll see how to: – Prepare a complex SVG for use as a decal – Create a solid decal base using offset and contour – Resize the design based on the surface you’re applying it to – Cut multiple vinyl colors cleanly – Weed and prep detailed vinyl designs – Layer vinyl using parchment paper for precise placement
Design Space Skills You’ll Learn in This Project
This class focuses on building layered paper designs and planning projects with depth. Design Space Skills You’ll Learn in This Project
You’ll learn how to:
- Upload an SVG and add it to a new canvas
- Resize a design based on real-world measurements
- Create an Offset to turn a design into a decal
- Use Contour to create a solid background layer
- Change colors to separate vinyl layers visually
- Manage multi-color designs across multiple mats
- Set mat sizes correctly for vinyl projects
- Choose the correct vinyl material settings
- Prepare a project that cuts cleanly without mirroring
This class focuses heavily on vinyl prep and layering skills inside Cricut Design Space.
Step 4: Cut, Weed, and Assemble the Decal
Once your design is ready:
- Set all mats to 12 x 12
- Place adhesive vinyl paper-side down on the mat
- Cut each color separately using the Vinyl setting
- Weed each layer carefully, taking extra care with thin lines
- Use reverse weeding for detailed text or small pieces if needed
For assembly:
- Apply transfer tape to the vinyl and burnish well
- Use parchment paper to line up layers before sticking them down
- Assemble the decal in layers, following the order shown in the video
- Clean the surface with rubbing alcohol
- Apply the completed decal to the surface and burnish firmly
- Pop air bubbles with a pin if needed and smooth with a scraper
Your Hello Spring decal is now finished.
Project Tips
- Measure your surface first and size the design slightly smaller
- Permanent vinyl is best for outdoor or car decals
- Keep the Design Space preview open while layering complex designs
- Parchment paper makes multi-layer vinyl much easier to control