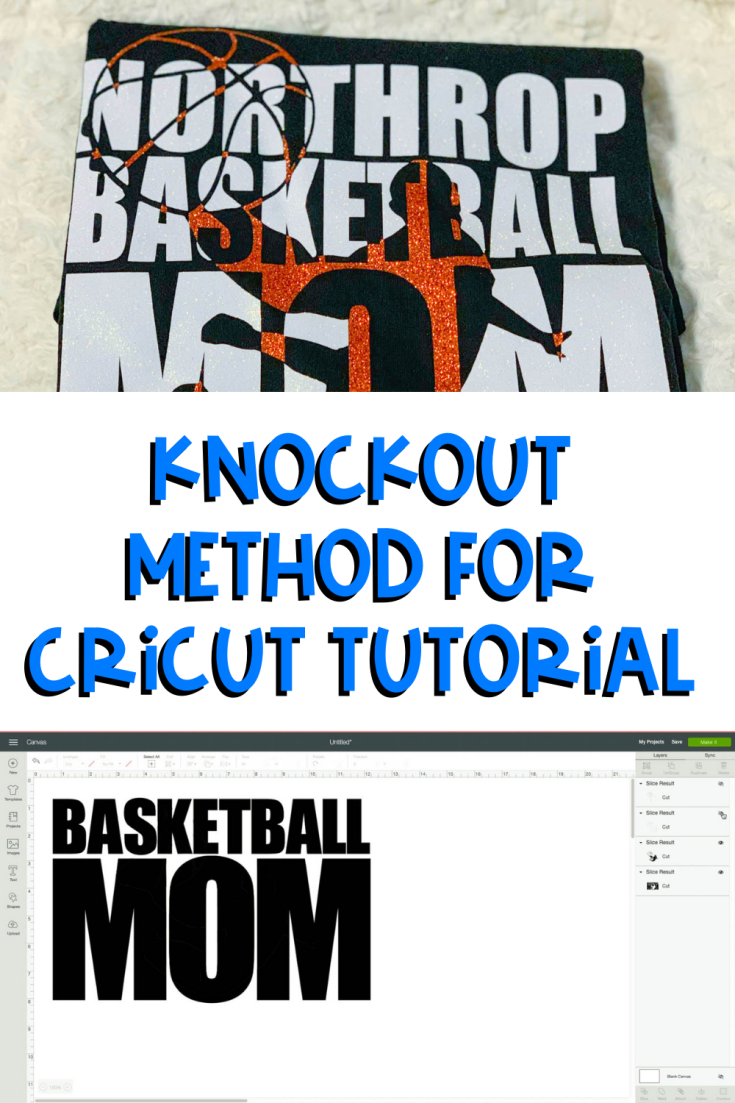
I posted one of my basketball shirts from last season on Instagram that I used a knockout text to do, and a few people asked me how I did it. So I decided that I was going to do a Knockout Method For Cricut Tutorial. It’s actually pretty easy.

I used heat transfer vinyl for this design and a basketball character sliced out in Cricut design space to accent the word. But this would also work with adhesive vinyl and transfer tape.
I love the look of a big bold word and glitter font. And having a Cricut Explore or Cricut maker and heat press makes dreaming up a design and executing it a breeze.

You can also do this in Adobe Illustrator, basically the same way, if you are an SVG file designer.
You can use the knockout method for Cricut using first names, last names, a cursive font paired with a more bold font. There are a few types of popular knockout design techniques you can knock out both images and texts. Use a thick text and knock out a smaller font or you can even knock out different designs within the same design.

What Is The Cricut Knockout Method?
Cricut knockout or the lockout method, (this can also be done in Photoshop and Illustrator) is kind of a layered text graphic. You can take 2 images, image and text, or Cricut offset to make a trendy knockout effect.
So, the easiest way to achieve the knockout method for Cricut is to follow the steps below. I tend to get the best effect with a really bold style text for the main word. And something that has some line detail for the second layer.

The knockout method is 1 of the best Cricut hacks and best Design Space tips out there.
In this Cricut Design Space tutorial, I will be showing you how to use the knockout method for Cricut. Interested in Cricut knockout name tutorials leave me a comment below and I will get it added for you. Happy Crafting!
Check out these awesome posts too!

How To Do Knockout Method For Cricut
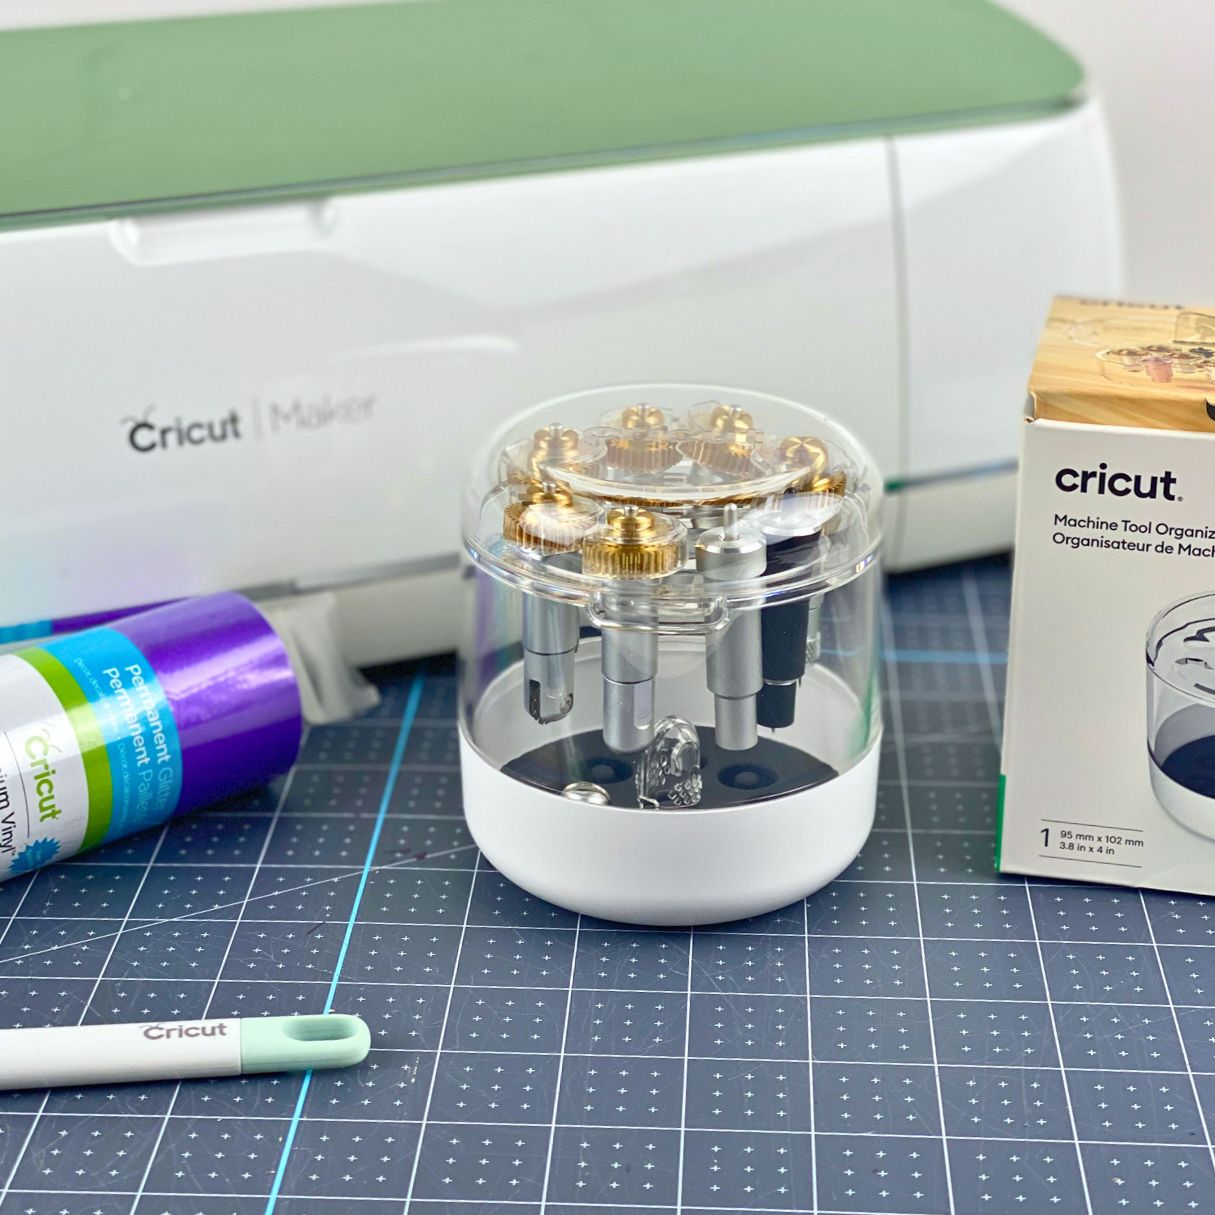
Tools
Instructions
- Open a new project and tap the text tool and type out your letters.

- I like to use capital letters when doing the knock-out method. Choose your font. My favorite is the impact font.

- Type the words separately and make the accent word bigger. Make sure that you just the letter-spacing before you move on.

- Resize the design so it fits whatever you are going to apply it to. In my case, it was a T-shirt. Make sure that you just the letter-spacing before you move on to the next step.
- Select the 2 words, and use the weld tool to weld them together so that it makes a single layer.
- Upload your image, it should be transparent, or you can also do this with script text, that will have to be another tutorial.

- I like to change it to a different color right away. It just makes it easier for me to see and do what I need to do.

- Now unlock the image, and resize it to fit inside the text layer. If you have to, unlock the layer to do so.

- You should now have 2 layers, make sure everything is aligned the way you want it. Select both layers and click the slice tool.

- Now you will have separate parts of the layers. You will need to get rid of the extra layers. Determine the layers that you need to get rid of. I do this by turning off all the layers 1 at a time, using the little eye.

- And then turn them each back on 1 at a time. To figure out which look you like best. I like to keep the 1 that has the small spaces between the letters left.

- That's it, now you can cut it with your fine point blade and apply.


