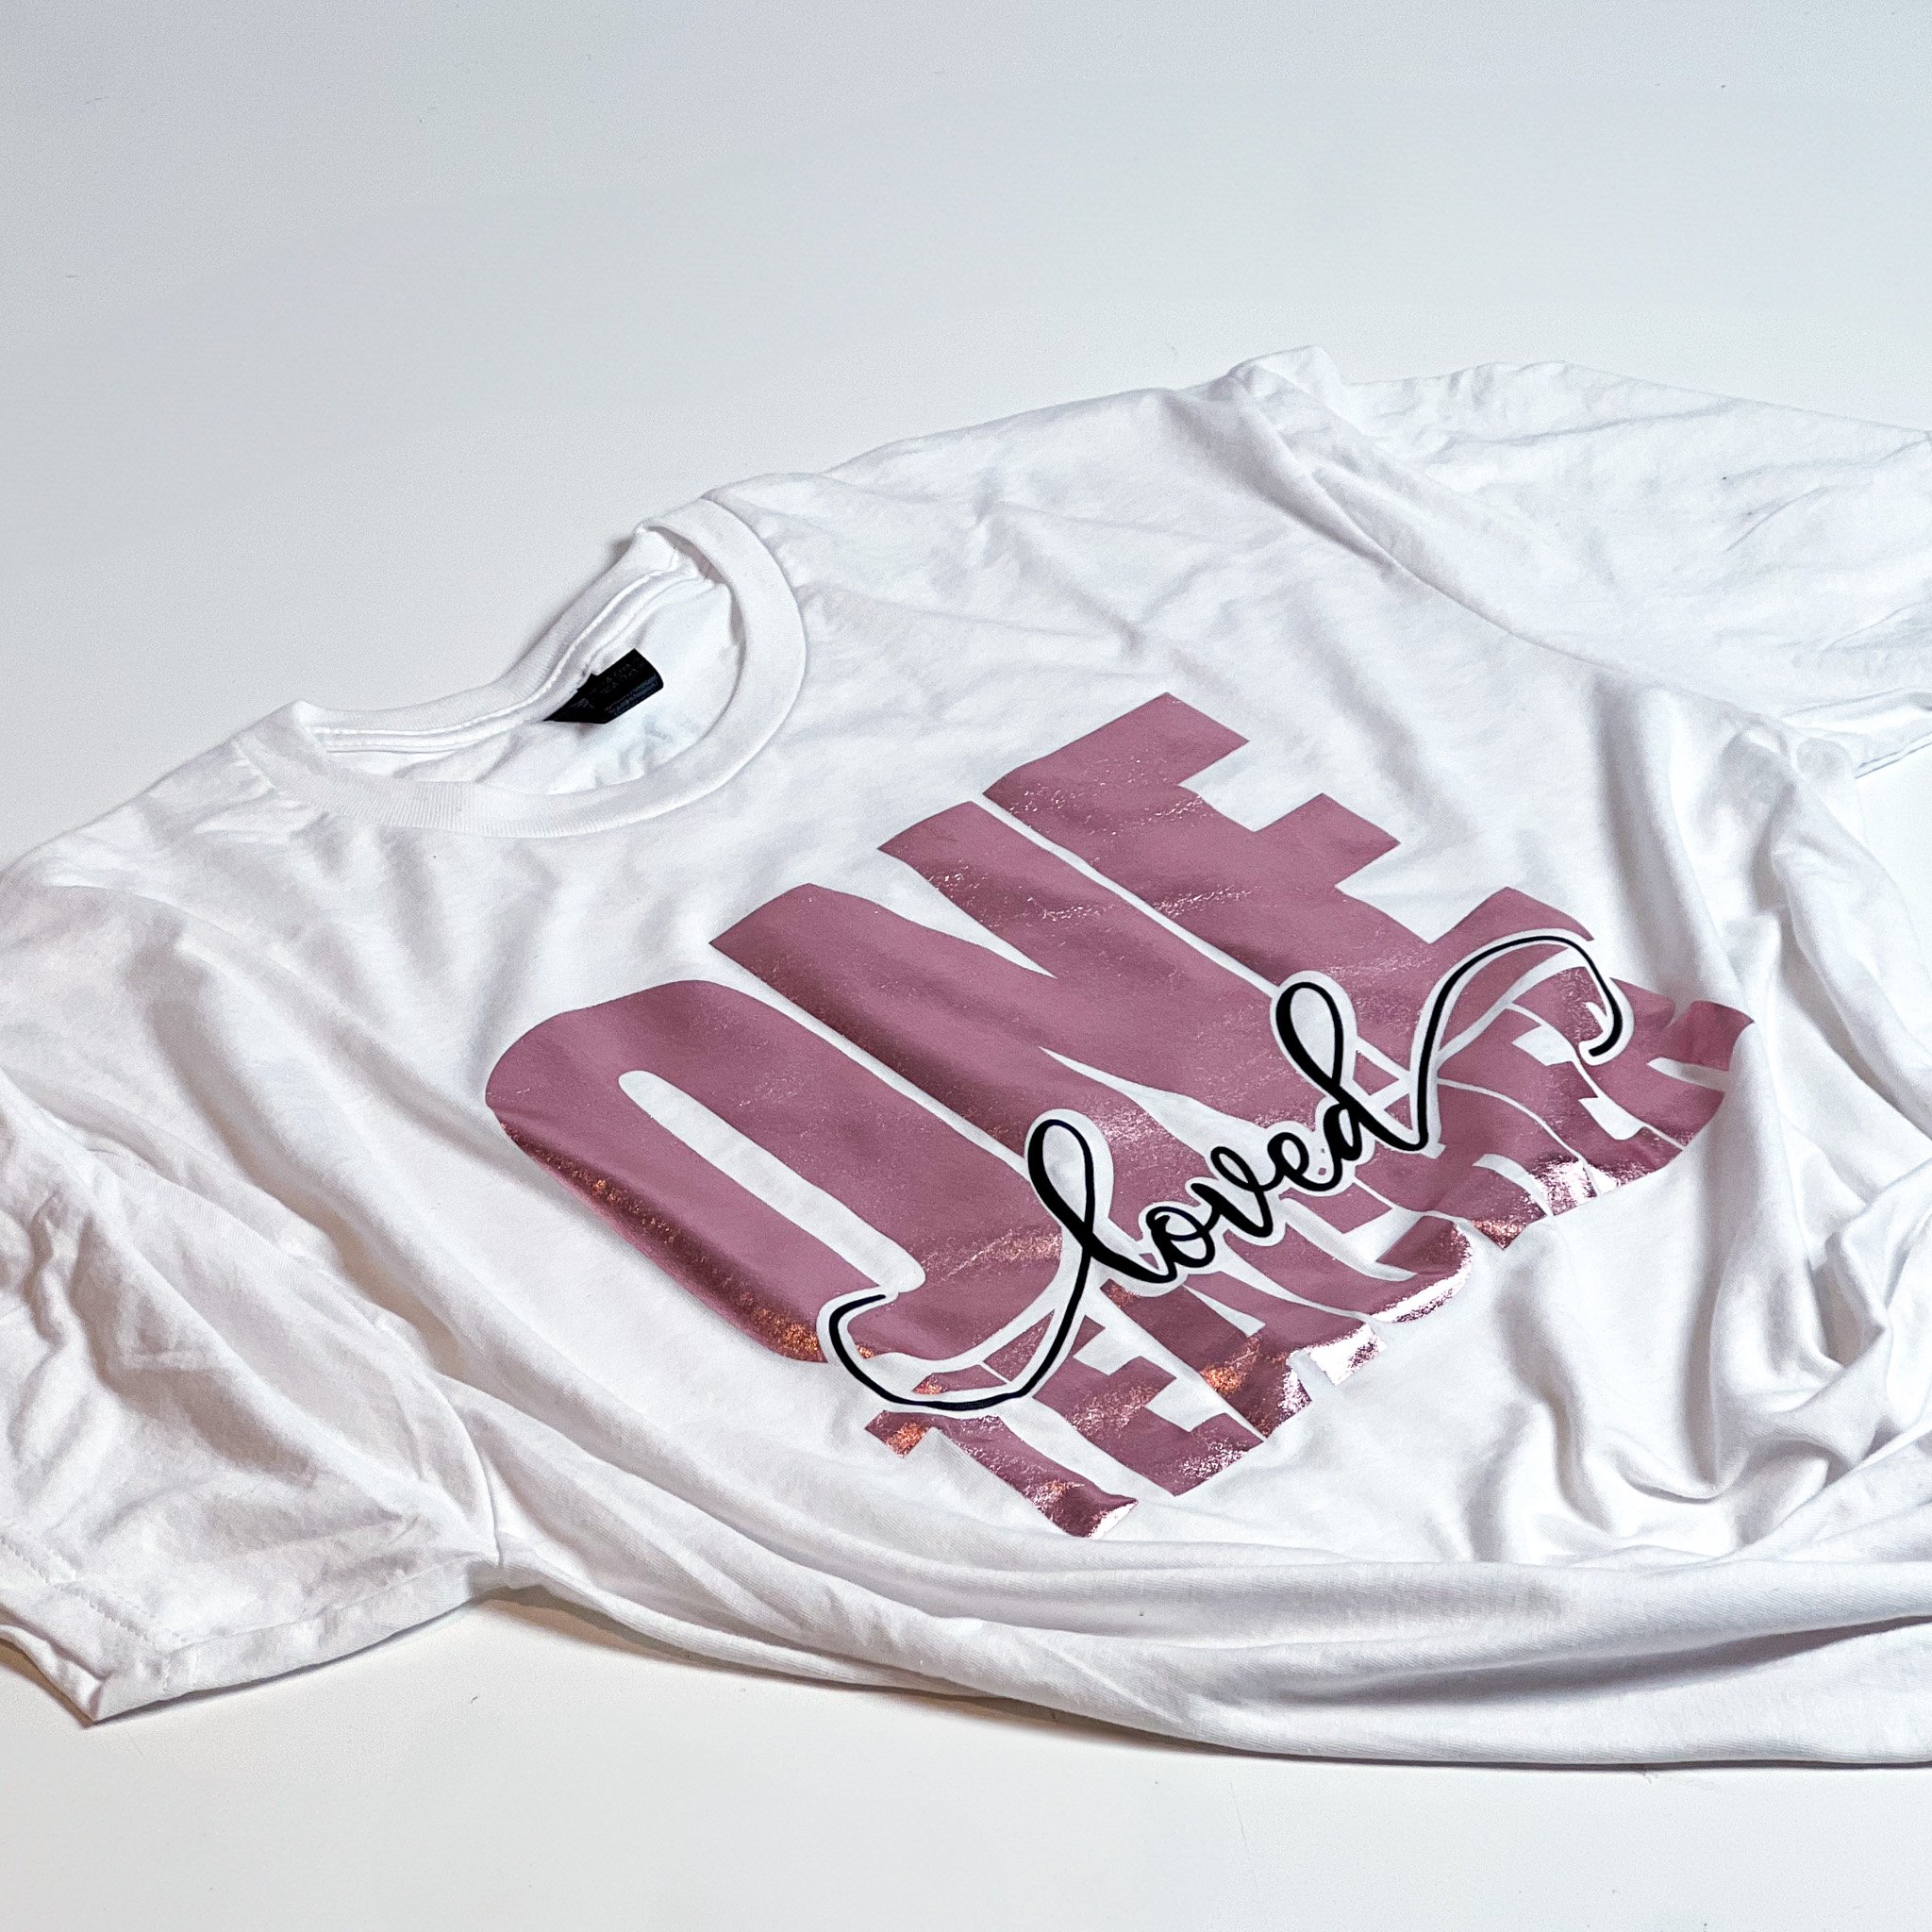
The Sublimation Skinny Tumbler isn’t as scary as you may think. Actually, it’s especially easy with the Cricut Mug Press. A full wrap Sublimation Skinny Tumbler is a great professional-looking gift that anyone will love.
So, when the Cricut Mug Press was released. It was supposed to only be used for mugs. The stainless steel 20 oz skinny tumblers weren’t something I thought we could use for sublimation in the Cricut Heat Press For Mugs, for example.

What Is The Cricut Mug Press?
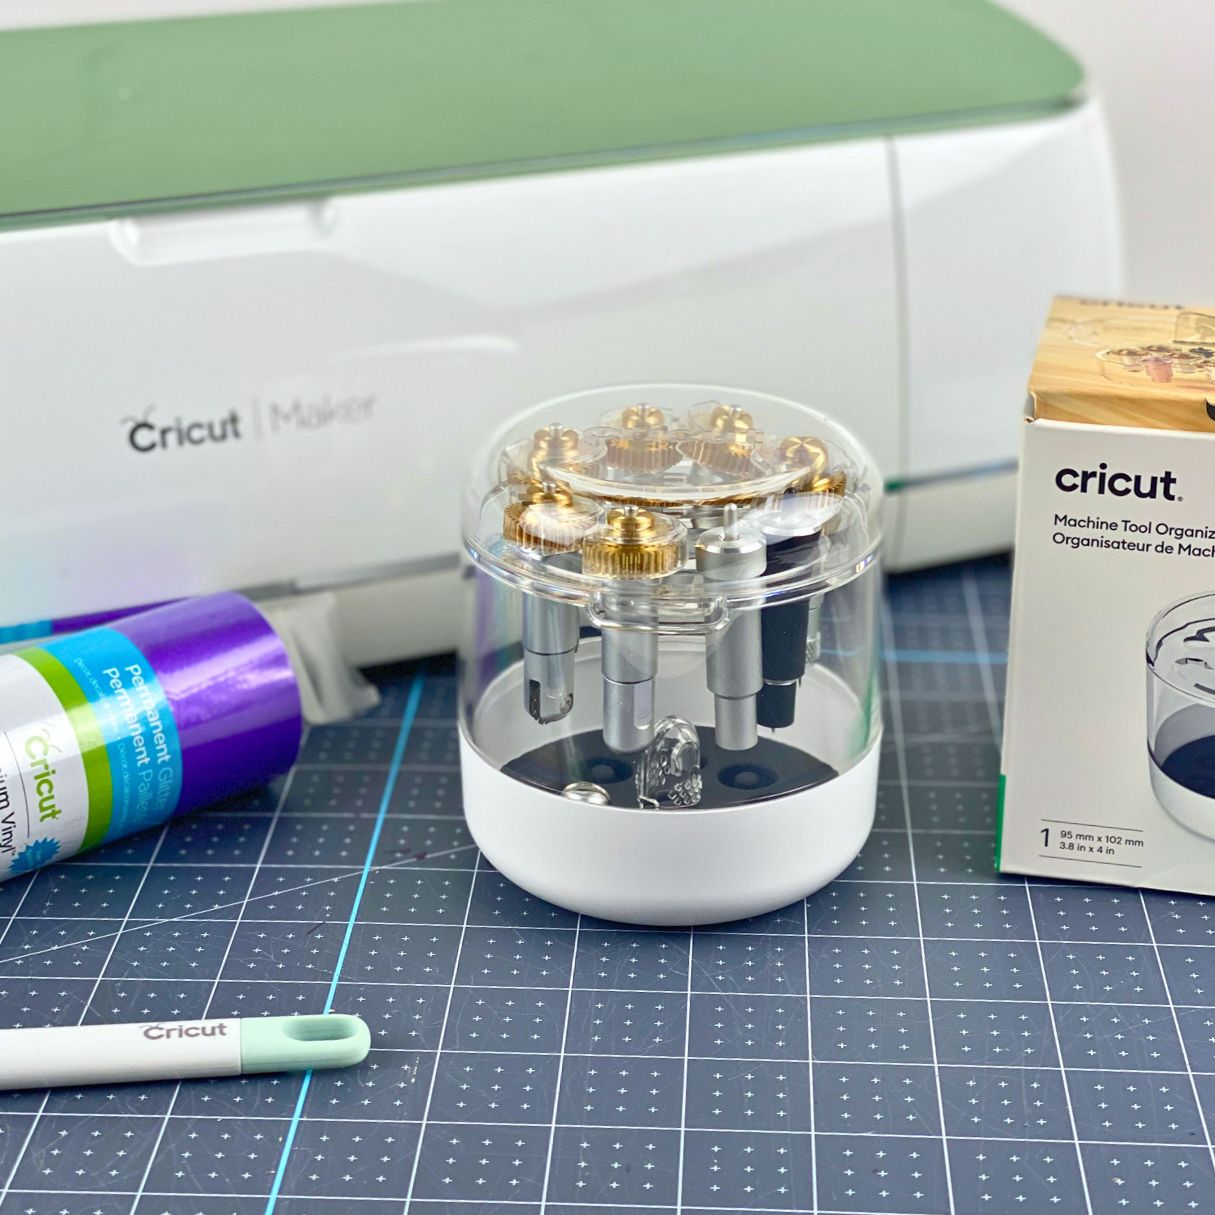
Simply put, the Cricut Mug Press is an EasyPress for mugs. The Cricut Mug Press was made to be used with Cricut Infusible Ink Transfers and Markers in mind.
You can not just use any mug, you have to use mugs and cups that are either Cricut Mug Blanks or another compatible mug.
For help setting up your Cricut Mug Press, you can read my Cricut Mug Press Set Up guide and follow along with the video.
With this press, you have a beautiful, professional quality mug in minutes. It’s no secret that Cricut products help you to turn your projects into something spectacular.
I needed to do some testing however to see if I could sublimate a 20oz tumbler in my Mug Press. I went on the hunt for 30 and 20oz skinny tumblers, shrink wrap sleeves, and some other cups that I thought would do well.

What Do I Need to Sublimation Skinny Tumbler?
- A tumbler for sublimation, I chose the 20 OZ straight skinny tumbler.
- 20 oz skinny tumbler template or digital design. You can also use a tumbler template SVG or cut file.
- Shrink wrap sleeves.
- A design for the tumbler. You can make your own or even order heat transfers for this part.

More About The Cricut Mug Press
The Cricut Mug press has a patent-pending heat plate. This is what helpes me to come up with my little hack for pressing the skinny tumbler. The plate is what gets hot then the heat distributes to the part that closes around the mug.
Because people often use a convection oven for this type of sublimation, it made sense to me that I would only need heat, which comes from the heat plate, and pressure, which comes from the shrink wrap.
There is an easy 1 touch setting, no need to adjust time or temp. This press does it for you. And, it has a safety-conscious design that shuts off after 13 minutes of inactivity.

Can I Sublimate On Any Skinny Tumbler?
Using the Cricut Mug Press and Sublimation on a Skinny Tumbler. Unfortunately, you are limited to sizes that will fit in the press. I haven’t done any tapered tumblers yet. That is definitely something that I am planning to try after I fine-tune this method.
The tumbler you choose has to be made especially for sublimation. Sublimation materials have a special coating on them. That to allow the design to infuse into the material that you are subbing on. It gives a finish that lasts the life of the material.
The tumblers I use whether I am using the Cricut Mug Press or Toaster Oven for sublimation are stainless steel tumbler that is double wall vacuum sealed.
Can you sublimate a tumbler twice?
You can, however, chances are you won’t get the end result that you are looking for. Once you remove your transfer sheet, it’s highly impossible to place the design back in the correct position that it was before.
So when you use the Cricut Mug Press to Sublimation Skinny Tumbler it is important to get your image placed right, and fully pressed the first time.
Tumblers make great holiday gifts and a full color full wrap skinny sublimation tumblers are even better with personalization. These tumblers are great for everyday use and are top rack dishwasher safe. The finished tumbler is of great quality, the best part is that it can be used for hot or cold beverages!
Most of them come with a clear lid and matching straw.
If mine comes with a plastic straw I switch mine out for the stainless steel straw.
More Fun Sublimation Info
- Best Sublimation Printer For Shirts-5 Amazing Options
- Full Wrap 20oz Sublimation Skinny Tumbler Tutorial
- Fall Sublimation Design | Boho Rainbow
- Tie-Dye Sublimation Back Pack + Free Sublimation File

Cricut Mug Press Sublimation Skinny Tumbler
Materials
Tools
Instructions
<ol><li>Print the design out using your template for the size tumbler you're using. Mine is 20 oz straight. </li><li>Cut at least 1 side flush to the design.
 </li><li>Clean your tumbler off to remove any dust or smudges, then wrap the paper tightly around the tumbler, overlapping the ends.
 </li><li>Tape with heat tape.
 </li><li>Slide the tumbler into the shrink-wrap sleeve.
  </li><li>And use the heat gun to shrink it down.
 </li><li>Place your "heat conductor" onto the side you are going to press first.
 </li><li>Place the tumbler into your preheated Cricut Mug Press.
 </li><li>Close the lever. and once it beeps, carefully remove the "conductor" and apply to the opposite end, and press again.
 </li><li>Once it's done, carefully remove the shrink wrap.
 </li><li>Now take the heat tape from your paper, and remove the paper.
  </li></ol>
Recommended Products
As an Amazon Associate and member of other affiliate programs, I earn from qualifying purchases.


You don’t include what you wrapped around the tumbler to make it fit properly in the press. This is what the main issue is with this press and skinny’s…..
It’s all there in the instructions.
Hello! This is awesome. What are you doing to close the hole at the top near the end of the video?
Close the hole?
can you tell me the name of the font you used on this tumbler?
Here it is, this is my affiliate link https://fontbundles.net/takiyuddin/29644-fabulous-script?ref=lwgnxo
Hi. Thank you for the instructions. When you use the “conductor” does it make the mug press close snugly or is there wiggle room? I’ve been using odd things to jam into the left side and end up having to turn the tumbler 3 or 4 times so that all parts are tight against the wall of the press
what is the “heat conductor”?
Just a polyester makeup bag that I cut.
When you flip and do the top of the tumbler, does the opening just fit around the raised heat plate?
Yes